







Vacuum Casting
A silicone tool taken from a printed master, and then twenty-five parts out of it that look moulded. The bridge between one prototype and an injection tool you are not ready to pay for.
Trusted, recognised and featured











One Master, Twenty-Five Parts
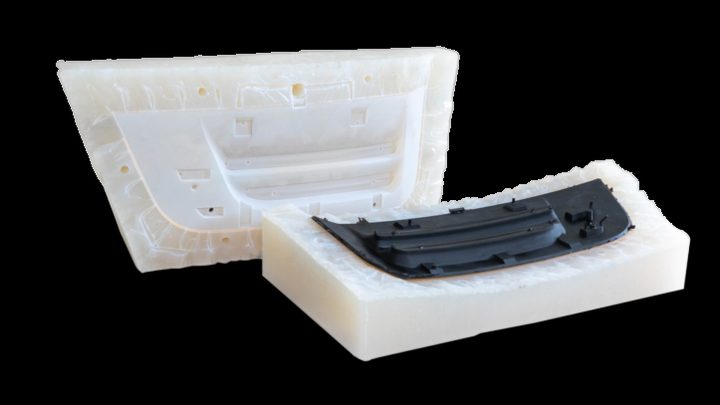
We print a master — usually SLA, because the finish of the master is the finish of every part after it — and finish it by hand. Silicone is cast around it under vacuum and cured, then cut open and the master removed, leaving a cavity that is an exact negative of it.
Polyurethane resin is then poured into that cavity under vacuum, so no air is trapped, and cured. A silicone tool gives 15–25 good parts before the detail starts to soften; after that we take another one from the same master.
Where Vacuum Casting Wins
The right answer between prototype quantities and tooled ones.
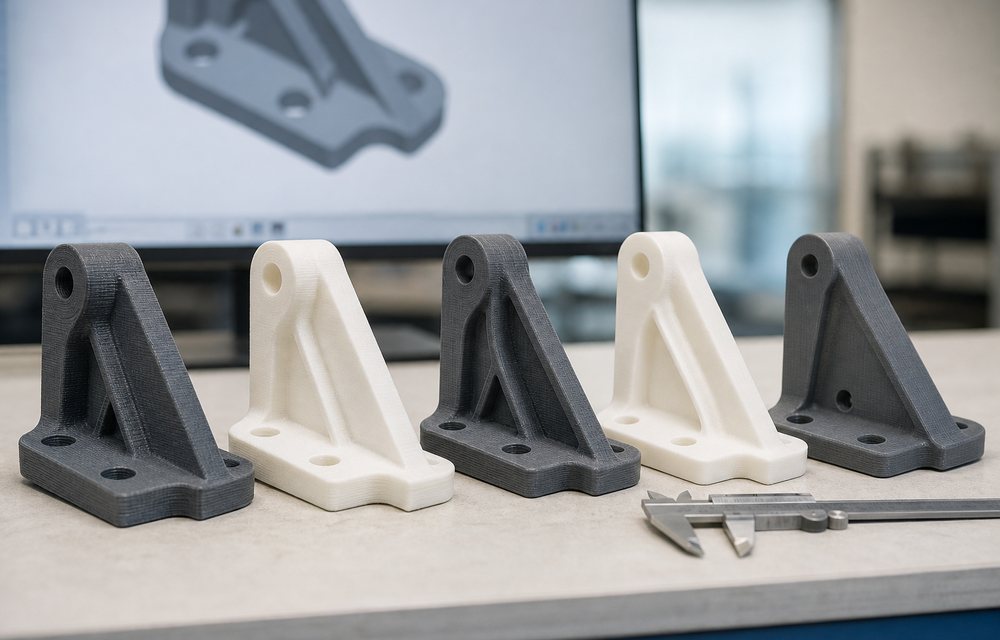
Injection-moulded appearance
No layer lines at all. The part is cast, so its surface is the tool’s surface.
Colour and texture in the material
Pigment goes into the resin, and the tool can carry a texture — not paint over a print.
Rigid, flexible or clear
PU resins that behave like ABS, like rubber at a chosen shore hardness, or like clear acrylic.
Weeks, not months
A silicone tool is made in days. A steel tool is not — and it costs two orders of magnitude more.
Process Specification
| Parameter | What you get |
|---|---|
| Parts per tool | 15 – 25 typical; a second tool comes off the same master |
| Typical quantities | 1 – 25 per run |
| Master | SLA printed and hand-finished — the master’s finish is the part’s finish |
| Materials | Polyurethane resins: rigid (ABS-like, PP-like), elastomeric (Shore 30A–90A), clear |
| Wall thickness | 1.5 mm minimum, 2.5–3 mm preferred |
| Draft | 1–2° preferred; undercuts are possible because the tool is cut open |
| Colour | Pigmented in the resin, or painted afterwards |
| Inserts | Threaded inserts and metal parts can be cast in |
What People Send Us
Pre-launch product runs
The twenty-five units for a trade show, a pilot or a certification submission.
Colour and finish samples
The same part in six colours, to decide which one gets tooled.
Medical device housings
Small clinical batches with a moulded finish before the tool exists.
Props and models
Multiples of one hero piece, cast rather than printed one at a time.
Overmoulded grips
A rigid core with an elastomer skin, both cast.
Clear lenses and covers
Cast clear and polished, where a printed part would never be optical.
Four Steps From File to Part
The same route for every process on this page.
01 · Upload your CAD
Pick a manufacturing process, upload the 3D file and tell us the quantity and finish.
02 · Get a DFM analysis
You get a design-for-manufacturability review with the price.
03 · Manufacturing begins
Approve the quote and the job goes on the floor. You are told when it starts, not only when it ends.
04 · Parts are shipped
Packed, tracked and shipped anywhere in India, with the tracking number in your inbox.
Other Manufacturing Services

FDM 3D Printing
Engineering polymers, one-off to small batch, ±0.5 % accuracy.

SLS 3D Printing
Nylon powder bed, ±0.3 %. No supports, so geometry stops being the constraint.

HP MJF 3D Printing
Multi Jet Fusion for production-rate nylon parts with even properties.

SLA 3D Printing
Resin, ±0.2 %, for the finest detail and the best surface finish.

Finishing & Assembly
Sanded, blasted, painted, inserted and assembled before it ships.
Reverse Engineering
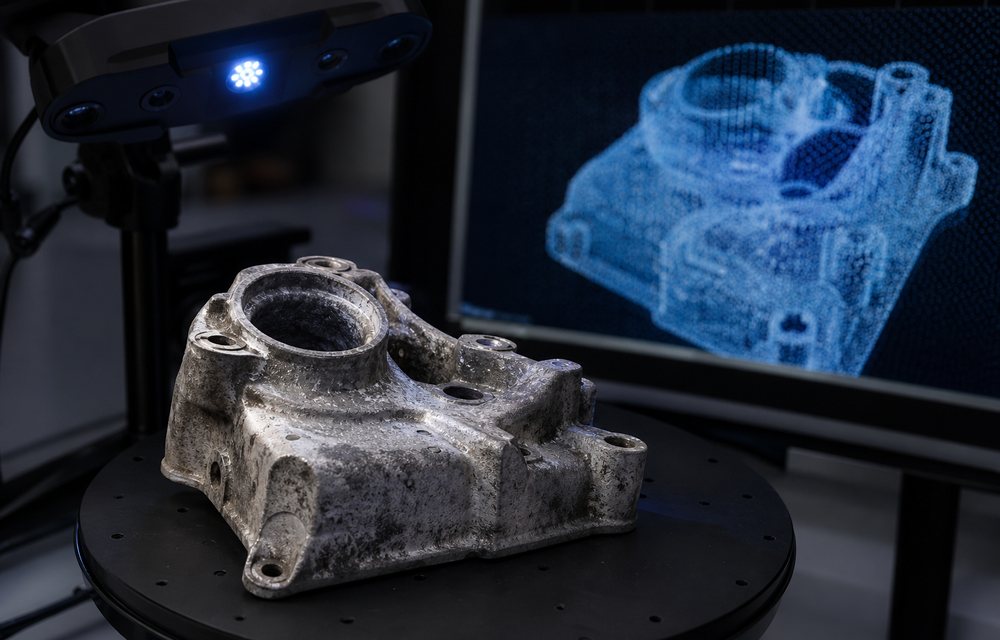
Scan-to-CAD for the part that exists and the drawing that does not.

Quality Assurance
Dimensional and material verification, documented.

Consulting & Design
DfAM, material selection and process design, from CAD to production.
Send us the part
Upload the file and tell us the quantity. What comes back is a price and a design-for-manufacturability review: where the part will give you trouble, and what to change before it does.