










3D Printing for Entertainment: Props, Costumes and Sets

A prop department has always been a small factory that makes each thing once. A helmet for one scene, a weapon that has to look right in close-up, a set piece that exists for a week and is then broken down. That is a brutal production model for conventional methods, and a natural one for a 3D printer.
Here is how film, theatre, events and cosplay makers actually use printing, and what separates a prop that reads on camera from one that reads as a print.
Where printing replaced sculpting
Before printing, a hero prop began as a sculpt in clay or foam, was moulded, and was cast in resin. The sculpt was the bottleneck: a skilled sculptor, days of work, and a shape that was hard to change once committed.
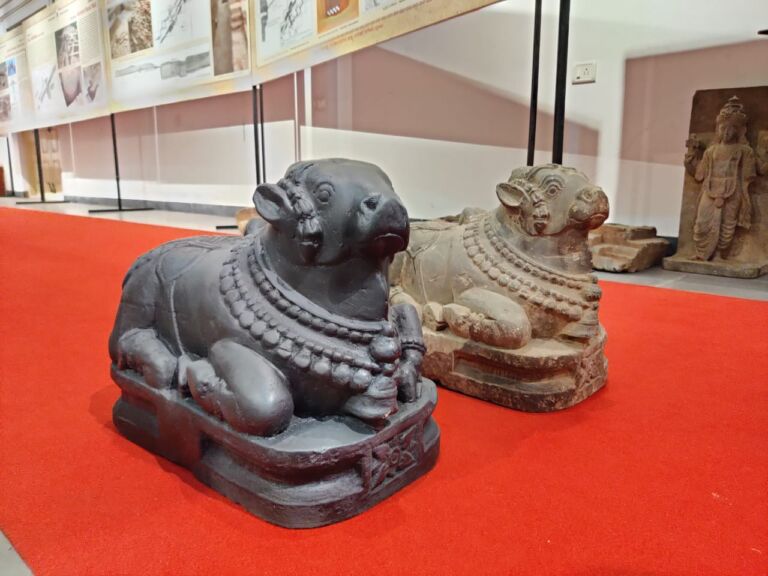
Now the sculpt is a file. Character heads, armour, weapon bodies, creature parts and hard-surface set dressing are modelled digitally, revised in an afternoon, and printed overnight. Symmetry is free, scaling is free, and a second copy for the stunt double costs only filament and time. Where the original workflow still wins is texture: skin, fabric and fine organic surfaces are often still sculpted, or printed as a base and then worked by hand.
Materials for props
Props have unusual requirements. They must look like metal, stone or bone, weigh far less than the real thing, survive being dropped, and often be safe to swing at another actor.
- PLA is the default for anything static: display pieces, set dressing, armour that is worn but not fought in. It prints with fine detail and takes filler and paint well.
- PETG for parts that must not crack when handled repeatedly, and for anything left in the sun on a location shoot, where PLA softens.
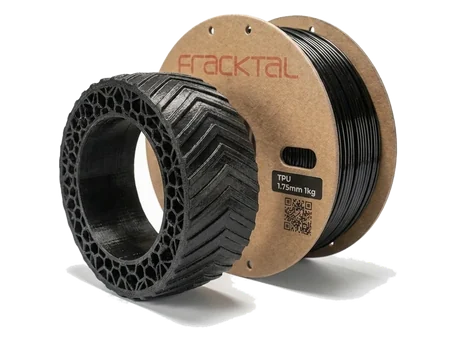
- TPU for flexible pieces: joint covers, soft blades, grips, and armour plates that need to bend with the wearer.
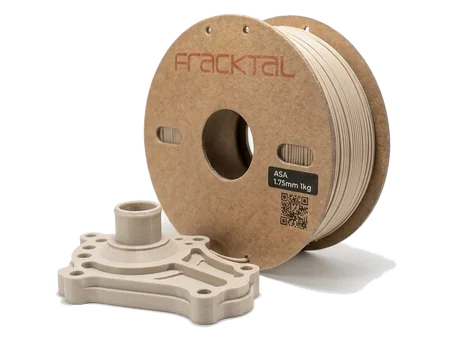
- ABS or ASA where a part will be vapour-smoothed for a glassy finish, or needs to live outdoors for a season.
The size problem
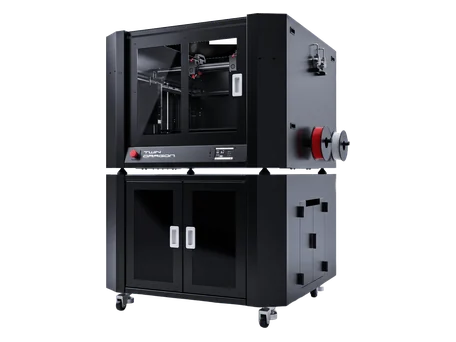
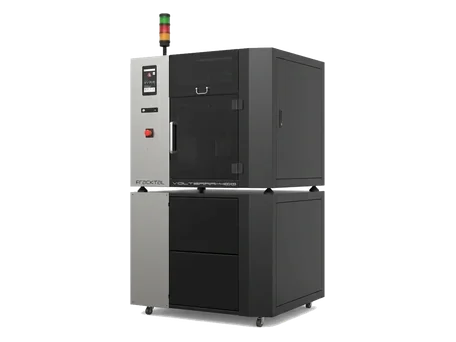
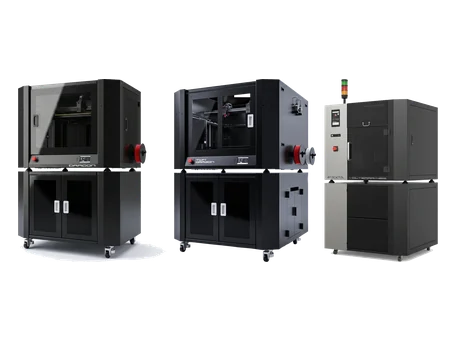
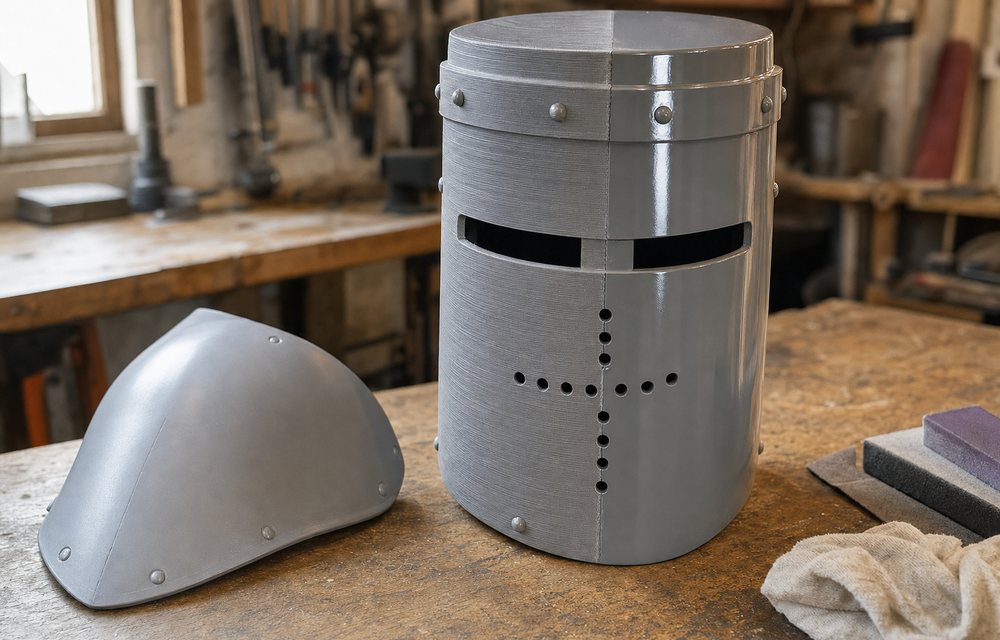
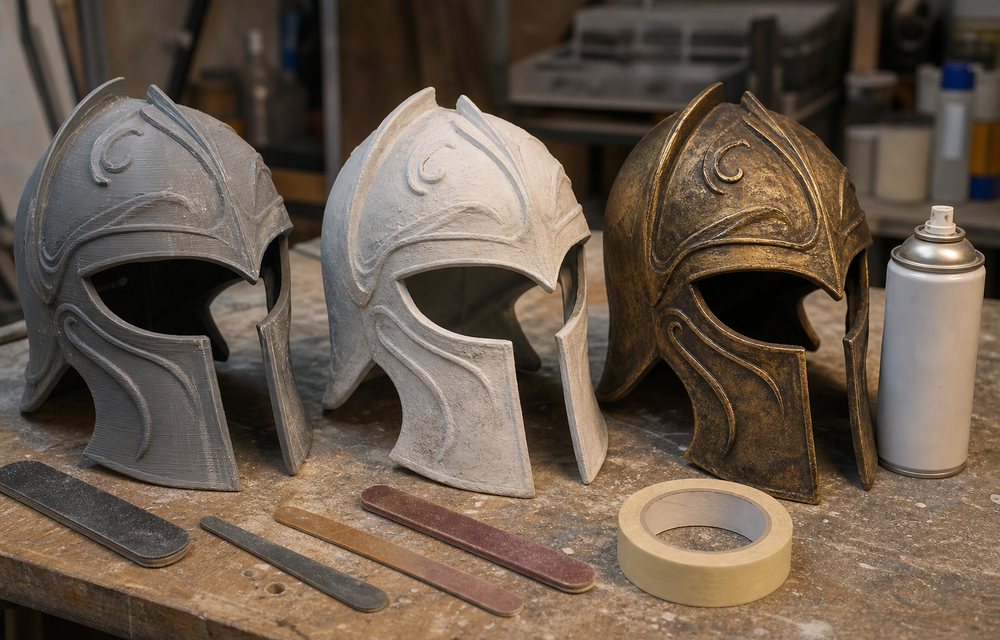
A breastplate, a full helmet or a sign for a set is larger than most desktop build volumes. There are two answers. Split the part along lines that are hidden or that follow real seams on the object, design registration keys into the joint, and bond the pieces. Or print on a machine that does not need splitting: the Twin Dragon builds up to 600 × 600 × 400 mm, which takes a full helmet or a chest piece in one go and removes a seam that would otherwise need filling.
Fewer seams is not only about looks. Every glued joint is a place a prop breaks, and a place that needs fill, sand and re-prime before paint. On a piece with a deadline, one large print can save a day of finishing.
Finishing is the craft
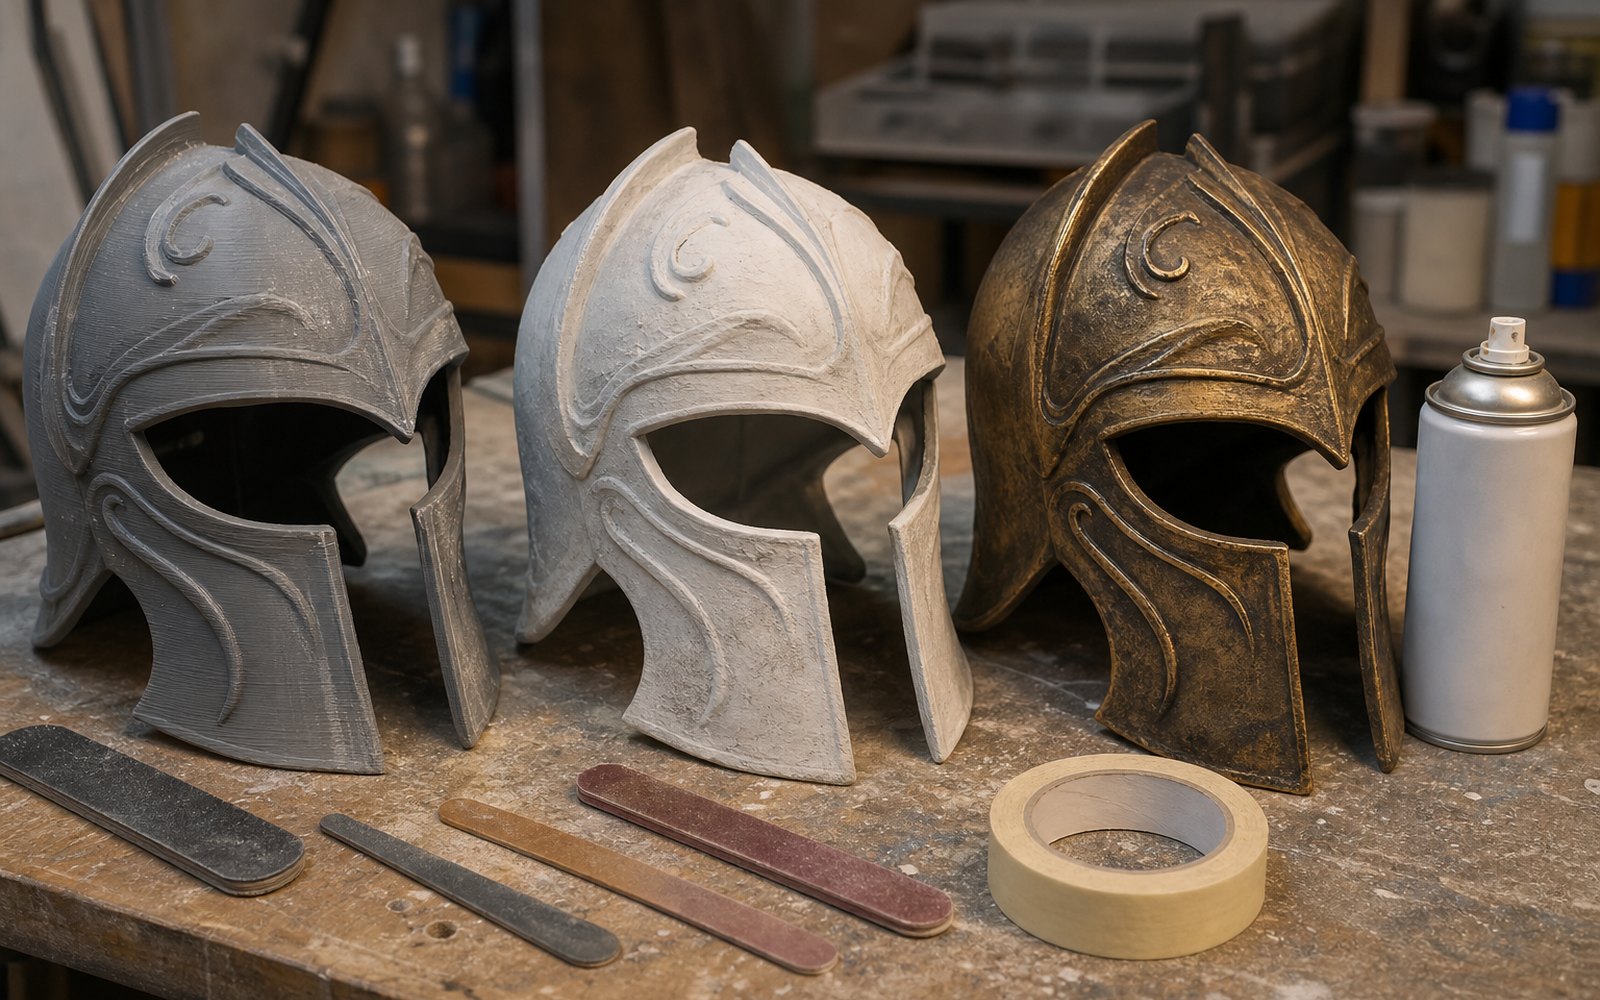
The print is perhaps a third of the work. What makes a prop convincing is what happens after: sanding through the grits, filler primer to close the layer lines, more sanding, a base coat, then the weathering that gives a “metal” prop its history. Chipping, drybrushed edges, a wash in the recesses. A perfectly smooth, evenly coloured prop reads as plastic; the marks of use are what read as real.
Print settings can take a lot of that work away. Thinner layers on the visible surfaces, orientation that puts stair-stepping on faces nobody sees, and a heavy primer designed for prints all reduce sanding. We collected the settings we use on the props and cosplay page.
Beyond the hero prop
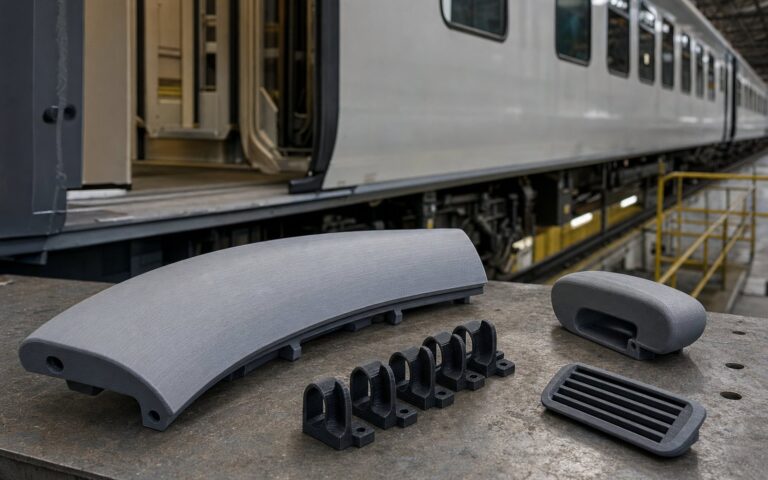
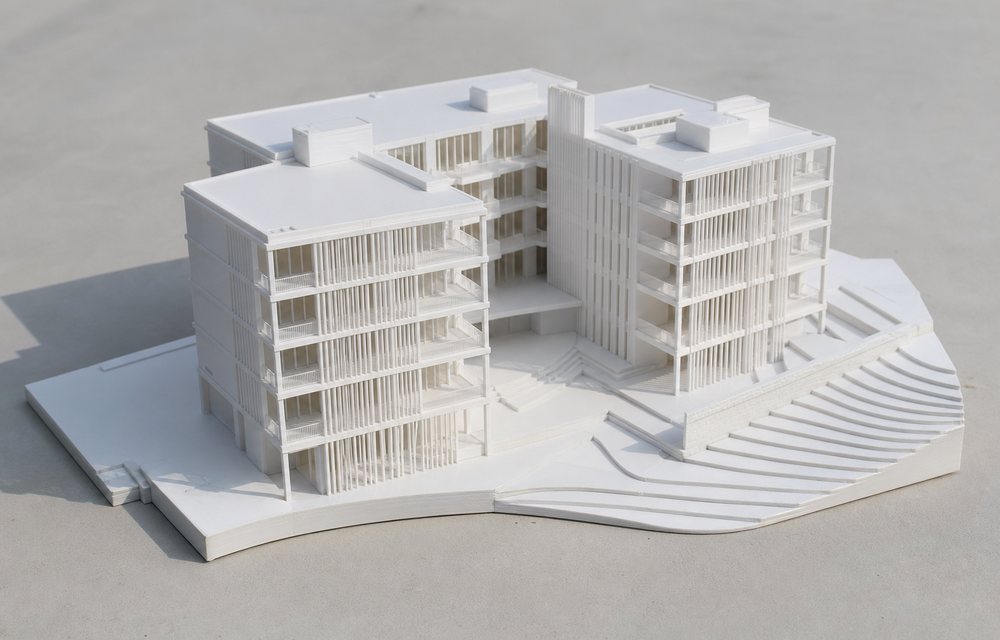
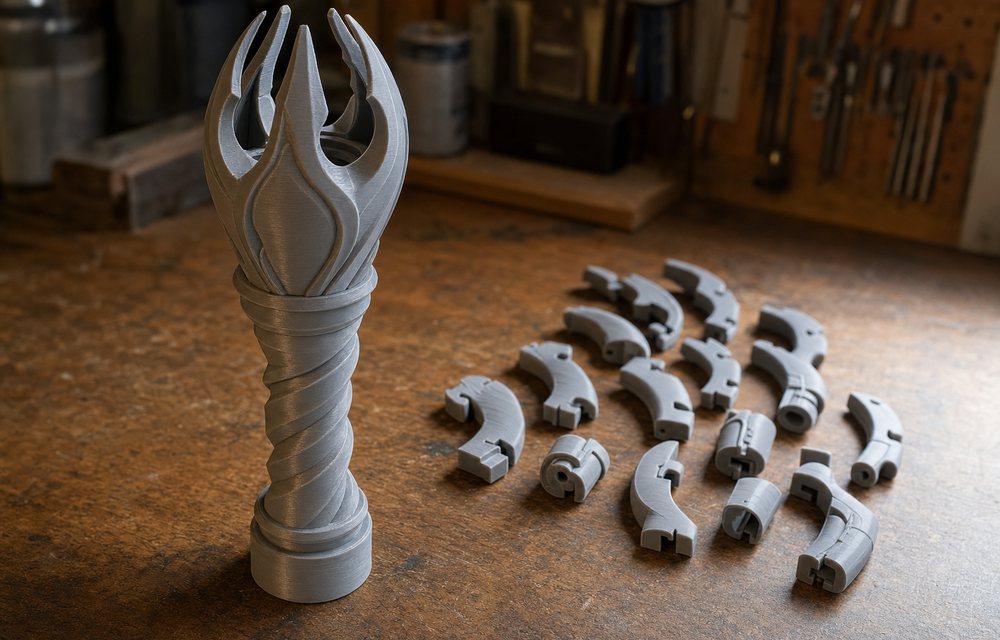
The less glamorous uses are often the most valuable to a production. Multiples of a background object for a crowd scene. Replacement knobs, bezels and greebles for a set that has to look like a control room. Custom mounts for cameras, lights and rigging that no supplier sells. Scale models of a set for blocking and lighting tests before anything is built full size. All of these are small, fast prints that used to be improvised or skipped.
Working with us
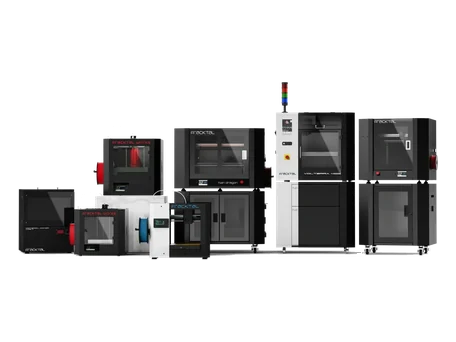
Many prop makers own a desktop machine and use it constantly. Where they come to us is the large piece, the batch, or the material they cannot print at home: a full-size armour set on the Twin Dragon, twenty identical pieces in nylon from the SLS line, or a translucent part in resin. Send the file through the quote page, say what it is for and how it will be finished, and an engineer will suggest the process and the orientation before it is printed.