










How to Get a Part 3D Printed by Fracktal: Upload, Quote, Delivery

Getting a part printed by us is a short process, and most of the delay people experience with any print service comes from the file rather than the machine. This is what happens between uploading a CAD file and a box arriving, and what to check before you upload so the first quote is the final one.
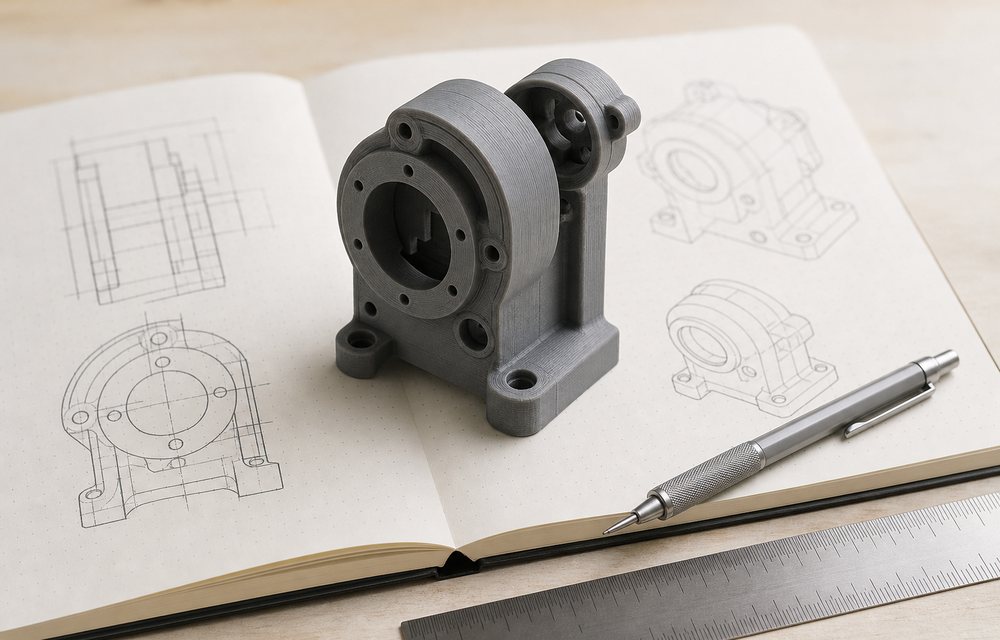
Before you upload
A few minutes on the file save days later.
- Units and scale. Export in millimetres. A part designed in inches and exported as millimetres arrives at a twenty-fifth of its size, and a quote for a tiny part is not the quote you want.
- Wall thickness. Keep walls at 1.2 mm or more for FDM. Most CAD packages have a wall-thickness check; run it. Thin walls print, then crack.
- A closed mesh. If you export STL, make sure the model is watertight: no holes, no flipped faces. A STEP file avoids the problem entirely and carries exact geometry, so send STEP when you have it.
- Assemblies. Send an assembly as separate part files, one file per part, unless you specifically want it printed as one piece.
- What the part is for. A sentence about function, load, temperature and finish lets the engineer choose the process and orientation instead of guessing.
We accept STL, OBJ, STEP and IGES for 3D geometry, DXF and SVG for flat parts, and a ZIP if there are several files.
Step 1: upload and describe
On the quote page, upload the file, say how many you need, and tell us the application. You can choose a process and material there if you already know what you want, or leave it to us.
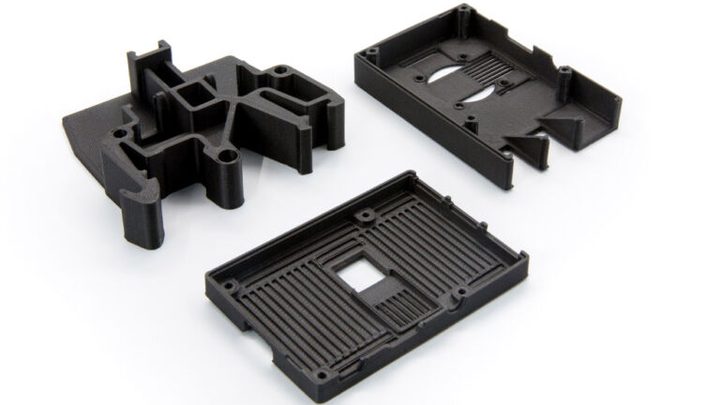
Step 2: the design check
This is the step that distinguishes a manufacturing floor from an instant-quote website. Before we price anything, an engineer opens the file and looks at it as a part to be made: wall thicknesses, overhangs, holes that will print undersize, features that want a different orientation, and whether the chosen process suits the job. If something will fail, we say so and suggest the fix. Our design for 3D printing page lists the rules we check against.
Where a part is fine as drawn, this step takes minutes. Where it is not, it is the difference between a part that works and a refund.
Step 3: process, material and finish
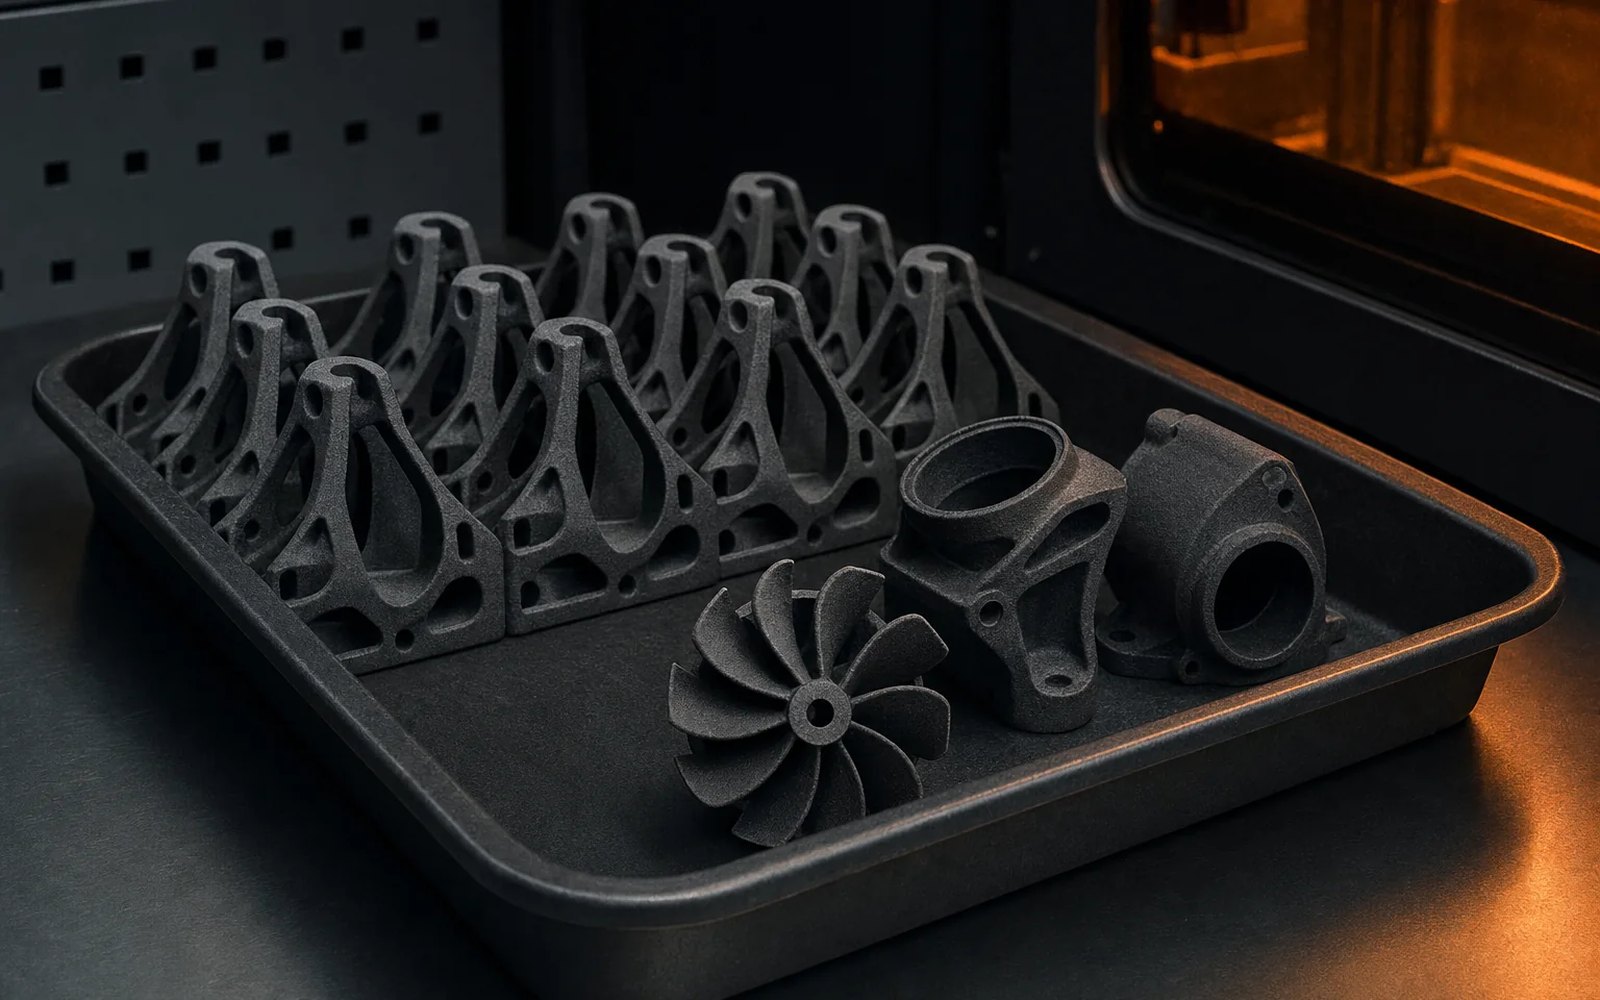
We run five processes on the floor: FDM for the widest range of thermoplastics and large parts, SLS and MJF for nylon parts without supports, SLA for fine detail and translucent parts, and vacuum casting for short runs in polyurethane. Across them there are more than twenty materials; the process comparison explains which suits what.
Finishing options depend on the process: support removal and light sanding as standard, bead blasting on SLS and MJF parts, and painting, dyeing or smoothing where you ask for it. Threaded inserts and post-machining of critical holes are available for parts that mate with other components.
Step 4: quote and payment
The quote comes back with the process, material, finish, quantity, lead time and price stated plainly, and with any design notes from the check. For accounting, 3D printing services and printed parts carry HSN codes and GST; our HSN and GST guide explains how they are classified. Payment is online; corporate customers can arrange purchase orders.
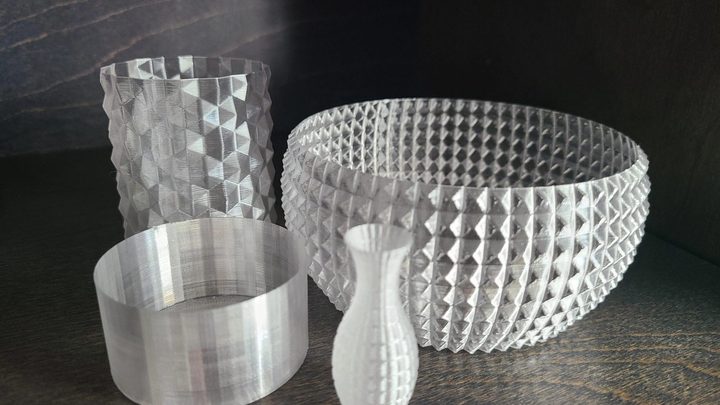
Step 5: printing, inspection and dispatch
Parts are printed in Bengaluru, inspected against the file, finished as agreed and packed for courier. We ship across India, and abroad on request. Lead time depends on process and quantity and is stated on the quote; a single FDM part is usually the fastest, a finished batch in SLS the longest.
When a printer is the better answer
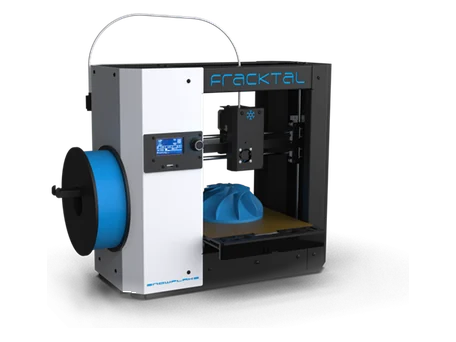
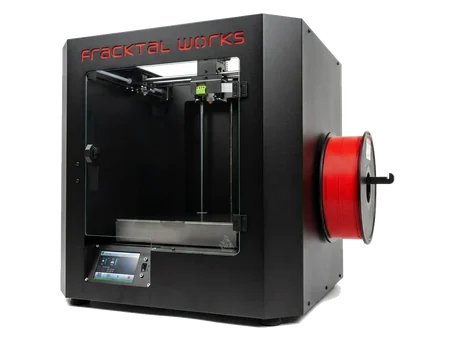
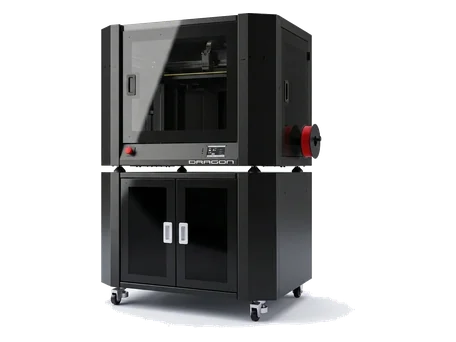
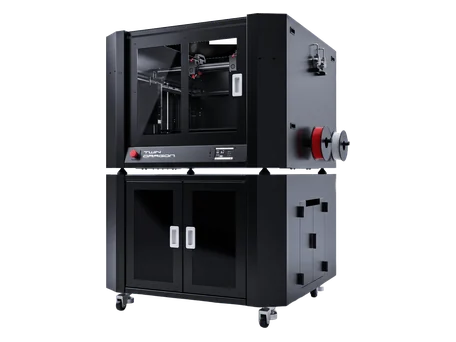
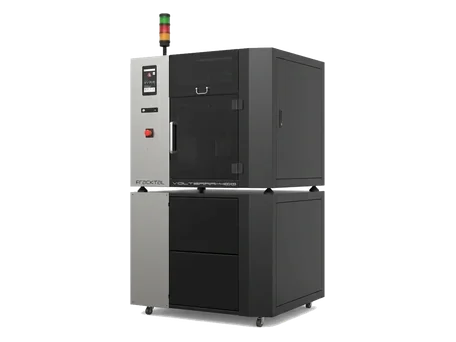
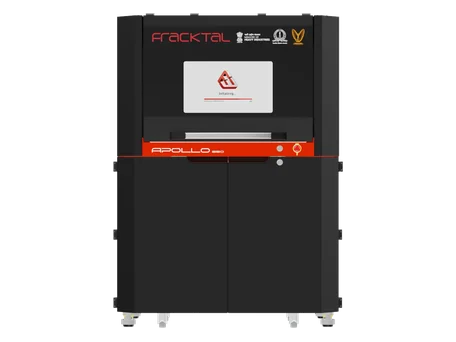
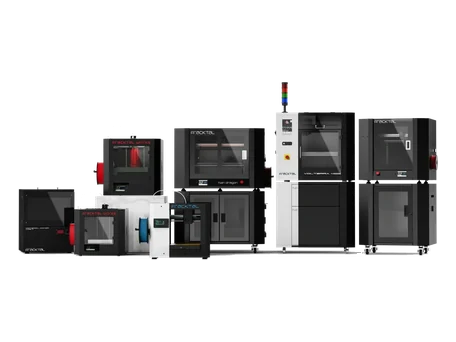
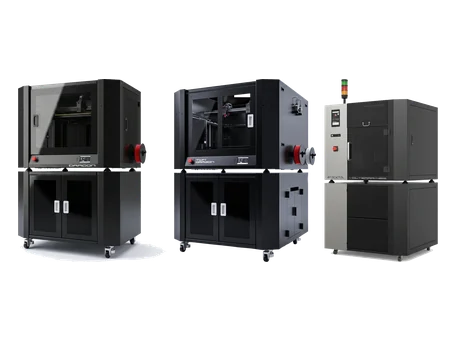
If you find yourself sending the same kind of part every week, it may be time to print in-house. Our desktop machines, the Snowflake and Julia, cover most prototyping; the industrial range takes larger parts and engineering materials. We are happy to say which is right, or that neither is and the service is still the better deal. Either way, start with a file and a sentence about what it is for.