










FDM Print Settings Explained: The Six That Matter

FDM print settings decide whether a part comes off the machine strong, accurate and on time, or as a stringy, warped object that took nine hours to fail. There are hundreds of settings in a slicer and six that matter. This guide is those six, what each one trades against, and the values we start from on our own machines. It assumes a working printer and a dry spool; if either is in doubt, fix that first.
How FDM works, in one paragraph
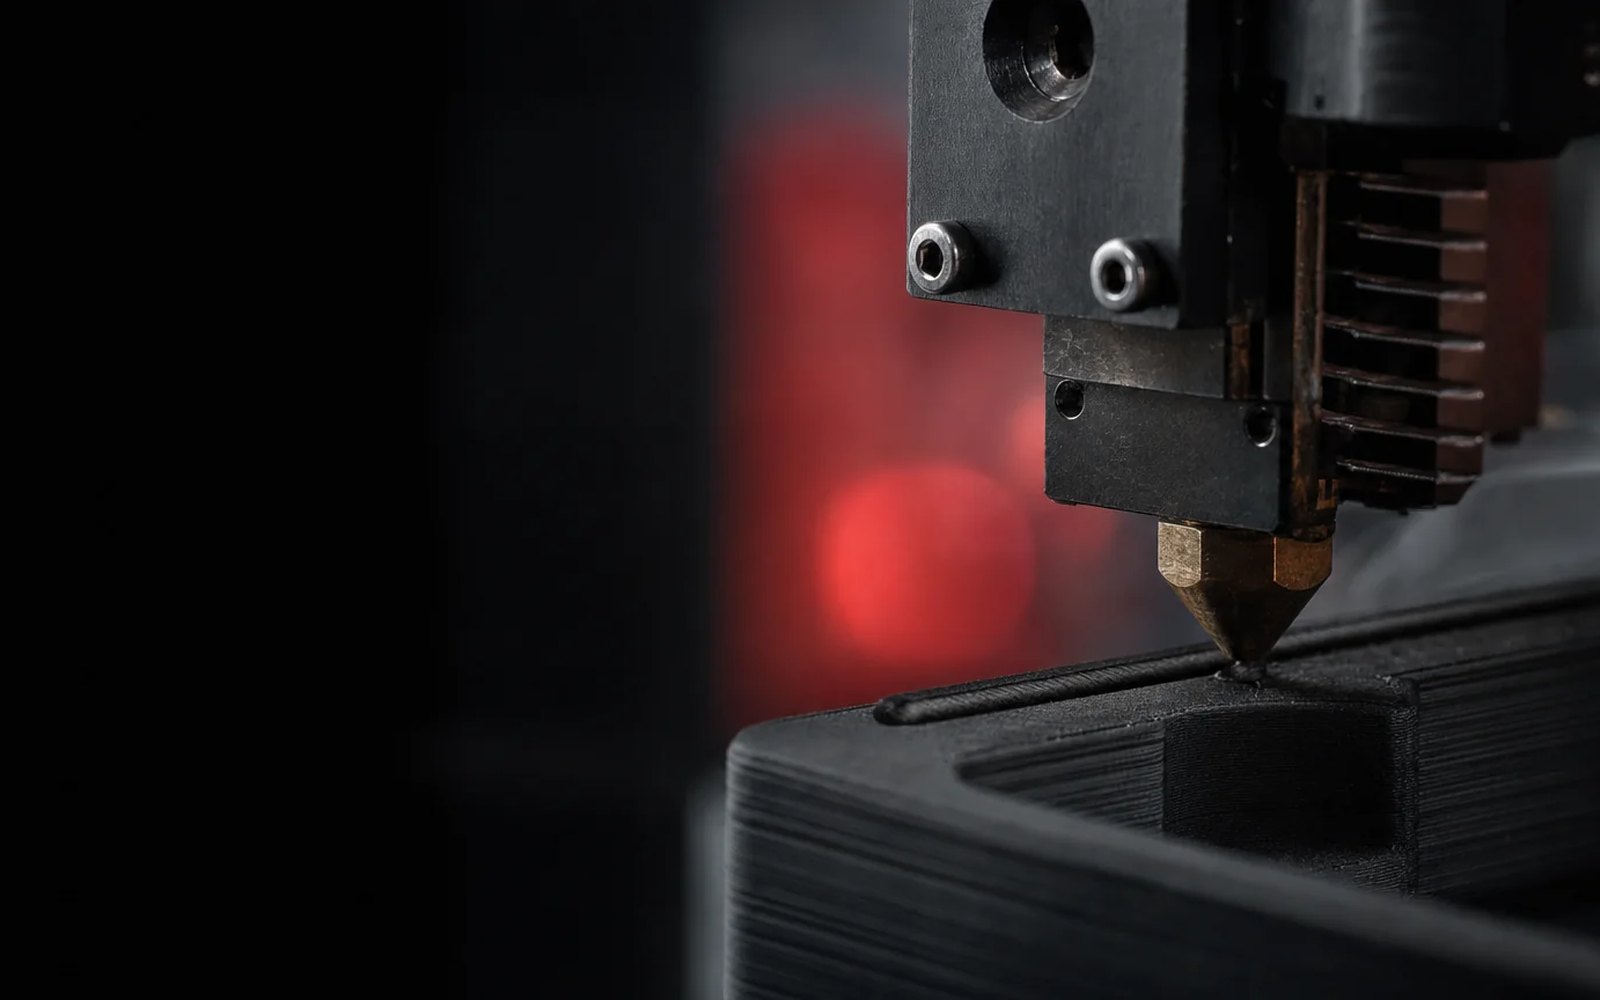
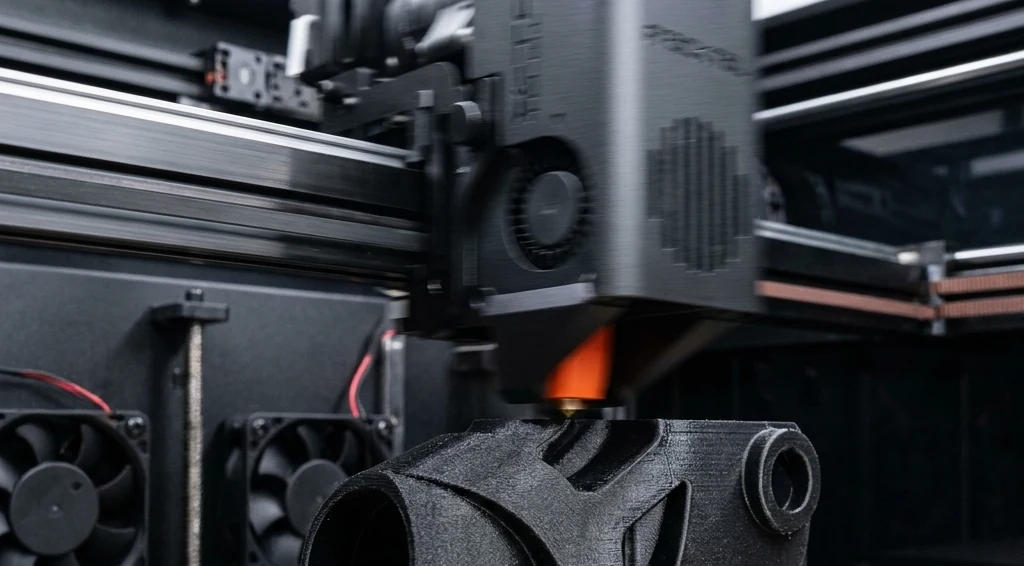
Fused filament fabrication, which most of the industry calls FDM, melts a thermoplastic filament in a heated nozzle and lays it down in lines, one layer at a time, building the part from the bed up. A slicer converts the 3D model into those lines, and the six settings below are the slicer’s main instructions to the printer. Everything about the part’s surface, strength and accuracy is downstream of them.
1. Layer height
The thickness of each layer, usually 0.1 to 0.3 mm with a 0.4 mm nozzle. It is the direct trade between surface quality and time: halving the layer height doubles the print time and makes the layer lines half as visible.
- 0.1 to 0.15 mm: visible surfaces, fine detail, curved parts.
- 0.2 mm: the default for most functional parts. Good strength, reasonable time.
- 0.28 to 0.3 mm: concept models, large parts, anything that will be sanded.
Thicker layers are also slightly stronger between layers, because each layer is hotter for longer as the next one goes down. Keep the layer height under 75 % of the nozzle diameter; beyond that the layers do not bond well.
2. Print speed
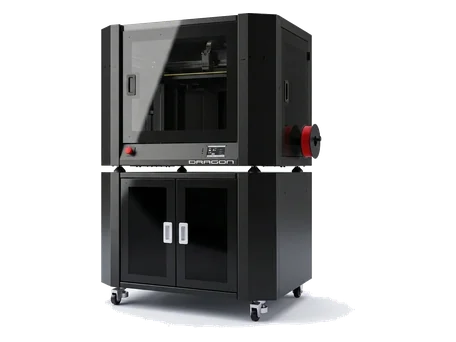
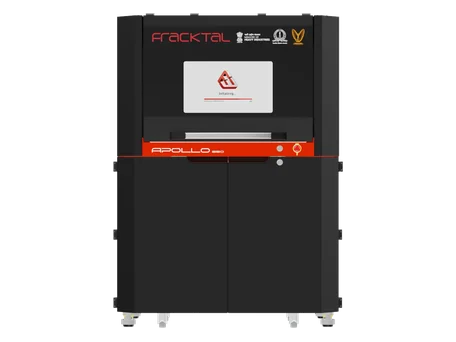
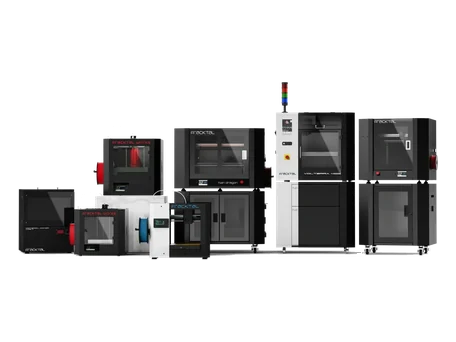
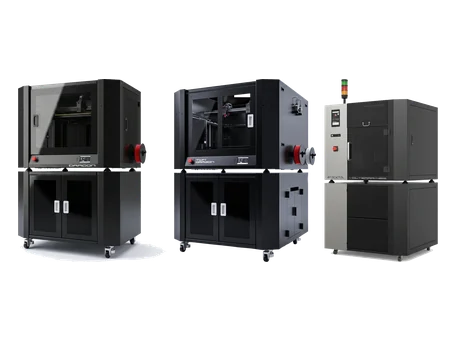
How fast the nozzle moves while extruding. Faster is cheaper until it is not: at some speed the hotend cannot melt filament fast enough, corners round off, and layers stop bonding. That limit is set by the hotend’s melting capacity, not by the motors. Our desktop machines print reliably at 60 to 80 mm/s on PLA and PETG; the Dragon was built to run up to 600 mm/s with a hotend sized for it.
Slow the outer wall down, always. Printing the outer perimeter at half the speed of everything else costs a few minutes and gives the part its surface. Slow the first layer to about 20 mm/s so it sticks.
3. Temperature
Two temperatures, and both are set by the material, not by preference.
- Nozzle. Each filament has a window: about 200 to 220 °C for PLA, 230 to 250 °C for PETG, 240 to 260 °C for ABS, higher still for nylon and polycarbonate. Print a temperature tower once per spool and use the temperature where the layers bond and the strings stop. Too cold: weak layers, under-extrusion. Too hot: stringing, sagging overhangs, a glossy blobbed surface.
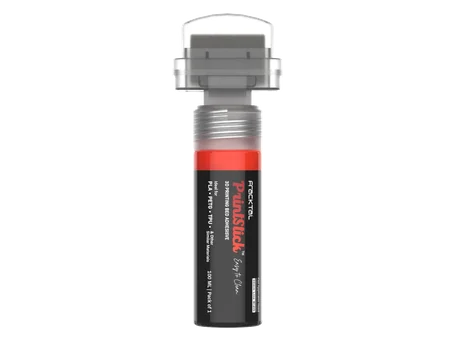
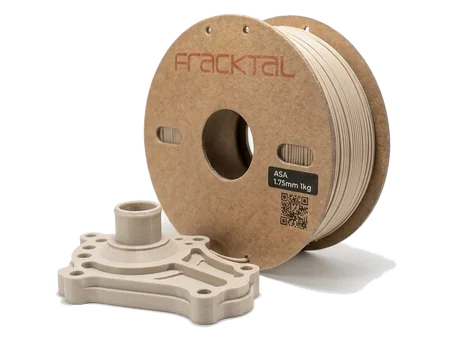
- Bed. Around 60 °C for PLA, 70 to 80 °C for PETG, 100 to 110 °C for ABS and ASA. The bed temperature is about adhesion and warp, and with a proper surface preparation it can often run at the lower end of the range. Our bed adhesion guide covers the rest of that problem, and PrintStick exists so the first layer holds without tape or glue.
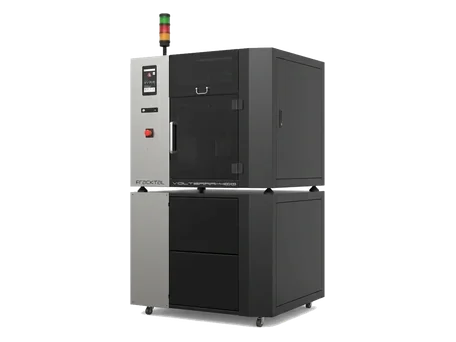
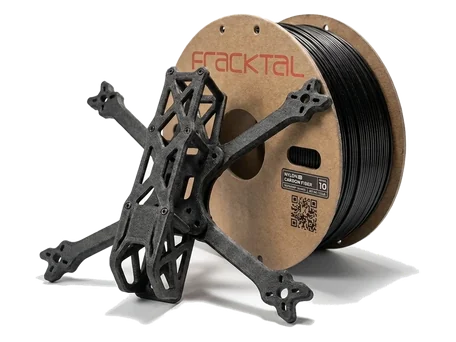
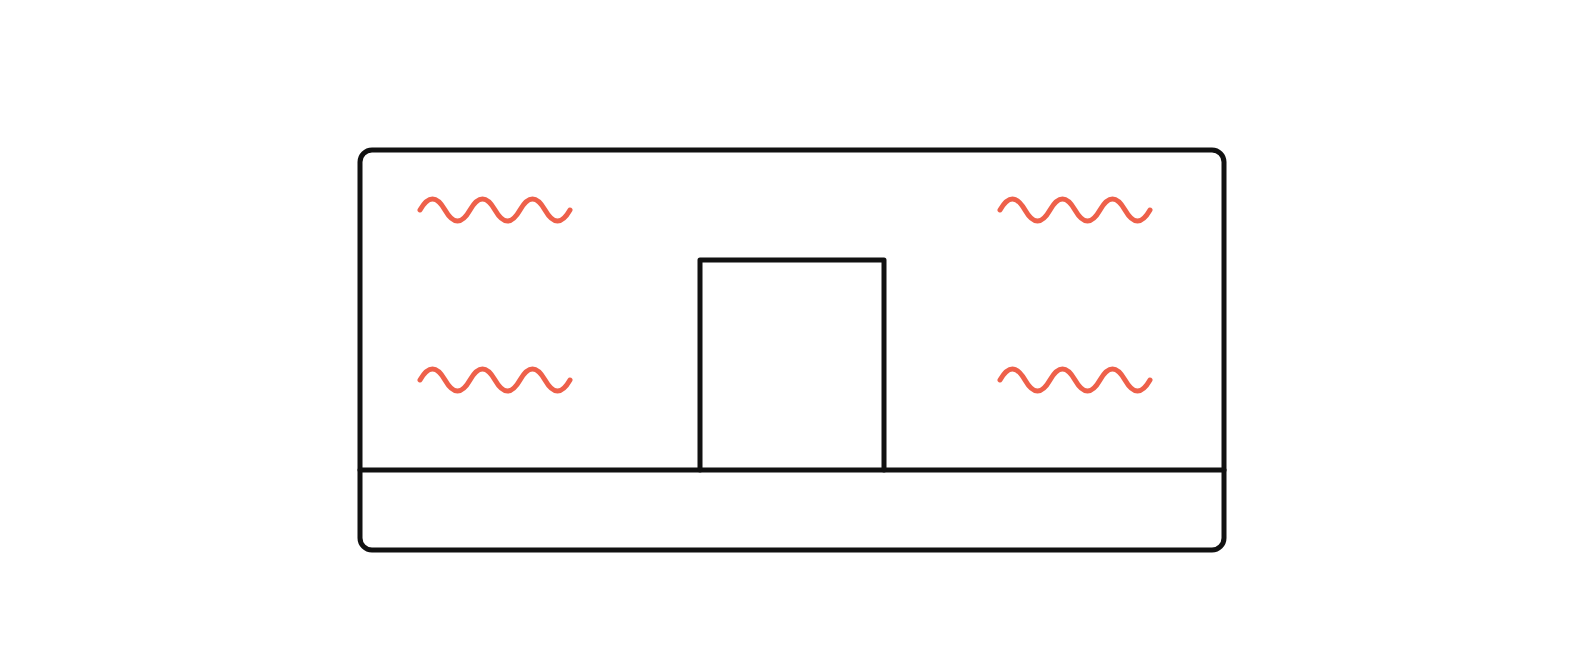
For ABS, nylon, polycarbonate and the carbon-fibre composites, the temperature that matters most is the one around the part. Those materials shrink as they cool, and a large part printed in open air pulls itself off the bed or cracks between layers. That is why industrial machines such as the Volterra have an actively heated chamber; a desktop machine prints those materials in small parts, with an enclosure, or not at all.
4. Infill and perimeters
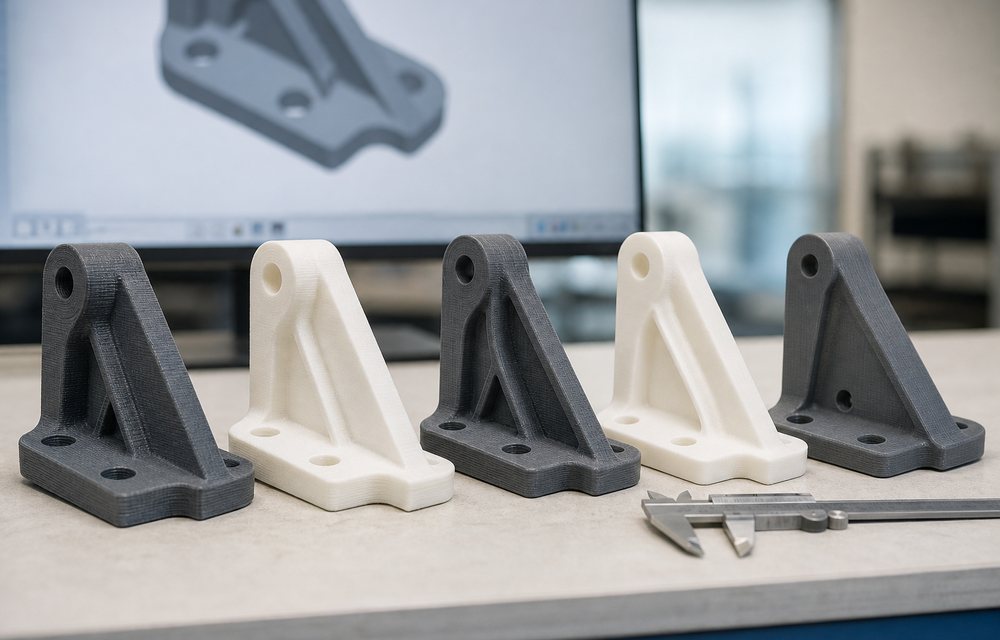
Infill is the pattern inside the part, and the common mistake is thinking it is where the strength comes from. It is not; the perimeters are. Three or four perimeters at 20 % infill is stronger and faster than two perimeters at 80 %.
- Perimeters: 2 for concept models, 3 to 4 for functional parts, 5 or more where a screw bites or a snap-fit flexes.
- Infill density: 15 to 20 % for most parts, 40 % and up only for parts loaded in compression.
- Infill pattern: gyroid or cubic for parts loaded in several directions; grid or lines where speed matters.
- Top and bottom layers: 4 to 6 at 0.2 mm, so the top surface closes over the infill without pillowing.
5. Support structures
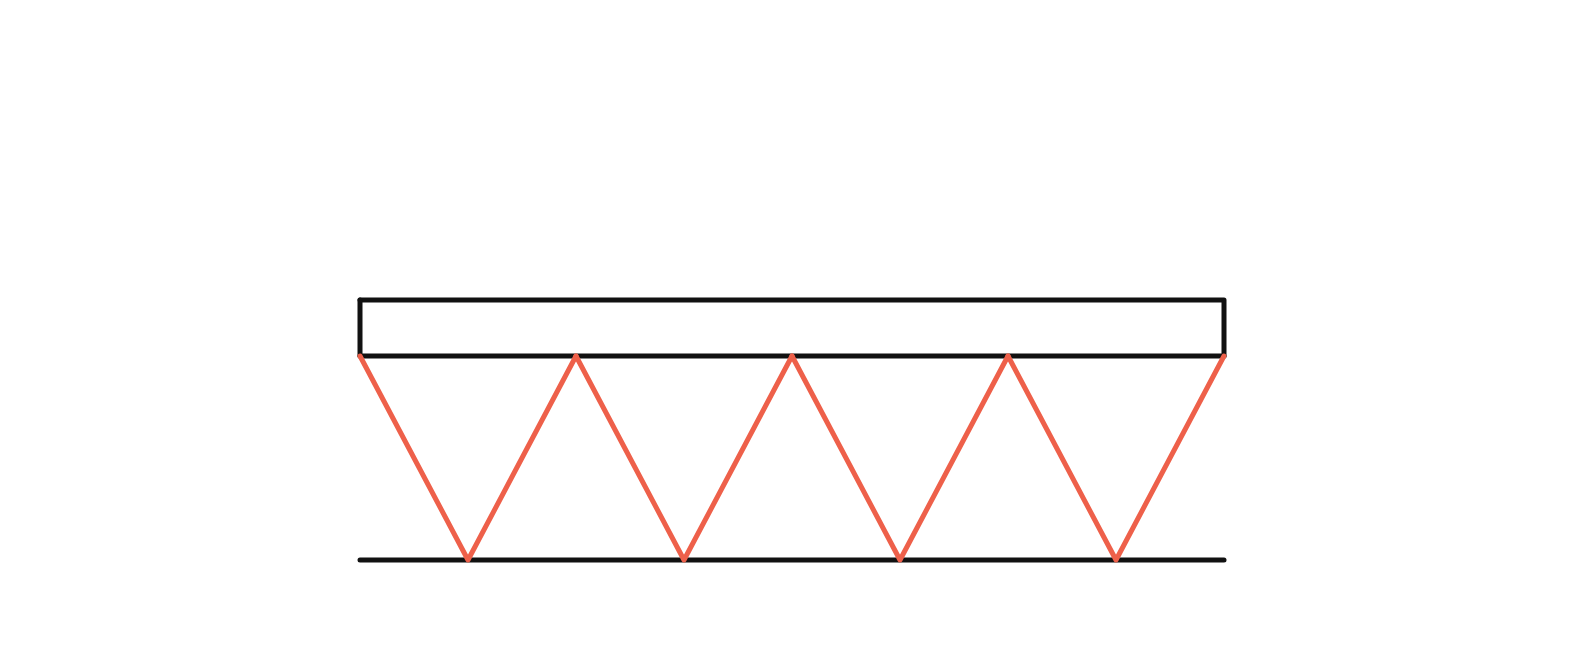
Any overhang beyond about 45 degrees needs support, and supports are where the material, the time and the finish are lost. The first move is to need fewer of them: rotate the part, split it, add a chamfer under an overhang, or design the feature out. The second is to set them well.
- Overhang threshold: 50 to 55 degrees on a well-cooled machine. Most slicers default to 45, which supports more than necessary.
- Support density: 10 to 15 %. Denser supports are harder to remove and not much more effective.
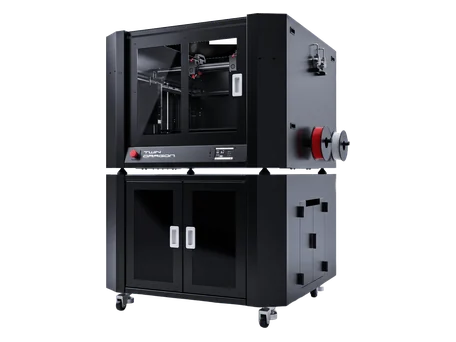
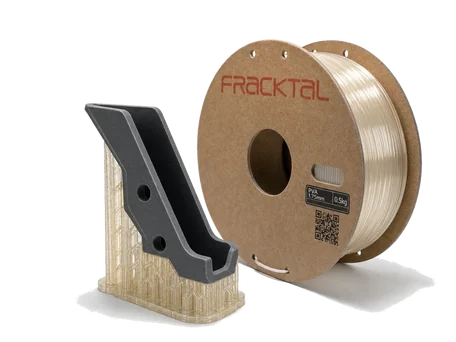
- Interface layer and Z gap: a dense interface layer with a 0.2 mm gap gives a clean underside and a support that snaps off. On a dual-extrusion machine such as the Twin Dragon, a soluble PVA support dissolves away and leaves no scar at all.
6. Cooling and retraction
Two settings that fix the two commonest surface defects.
Cooling is the part fan. PLA wants it at 100 % after the first layer; it freezes each layer so overhangs and bridges hold their shape. PETG wants 30 to 50 %, ABS and nylon want little or none, because cooling them too fast is what makes layers crack apart. If overhangs droop, increase cooling; if layers separate, decrease it.
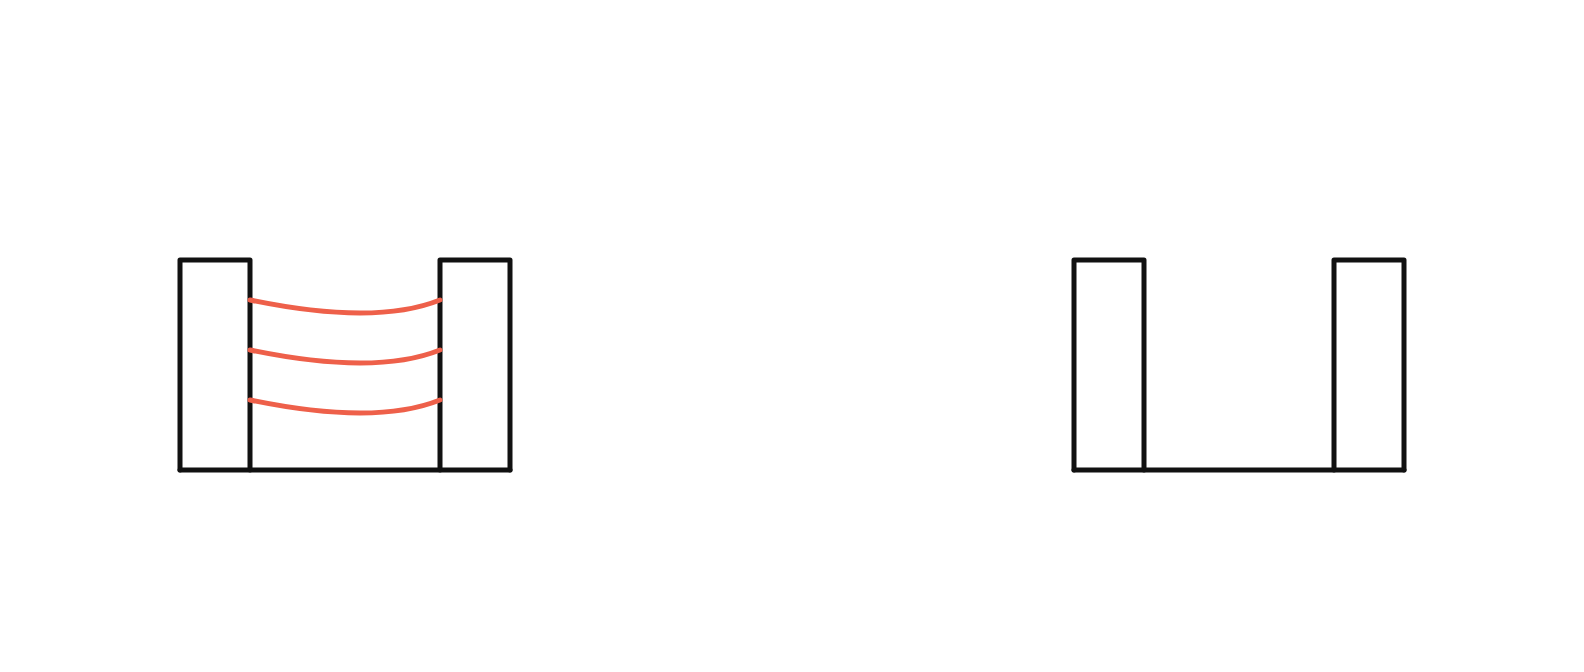
Retraction pulls the filament back a little when the nozzle travels without printing, so it does not ooze a string across the gap. Too little and the part is covered in hairs; too much and the nozzle clogs. Start at 0.8 mm at 35 mm/s on a direct-drive extruder and 4 to 6 mm on a Bowden, and tune by printing a retraction test. Stringing that survives good retraction settings is almost always wet filament, which brings us back to where we started.
Before any of it: dry the filament
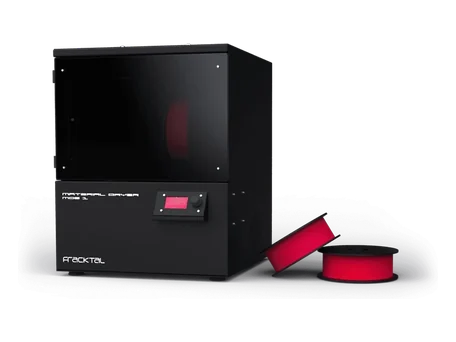
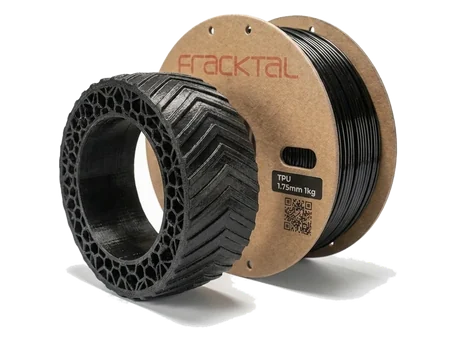
Nylon, PETG, TPU and the carbon-fibre composites absorb moisture from the air within days, and wet filament bubbles, strings and prints weak whatever the settings. More than half of new spools need drying before first use. A material dryer that holds the spool dry while it prints is the single change that makes every other setting on this page behave. Our design for 3D printing page lists the drying temperature and time per material.
Starting values
| Setting | PLA | PETG | ABS / ASA |
|---|---|---|---|
| Layer height | 0.2 mm | 0.2 mm | 0.2 mm |
| Speed (outer wall) | 60 (30) mm/s | 50 (25) mm/s | 50 (25) mm/s |
| Nozzle | 210 °C | 240 °C | 250 °C |
| Bed | 60 °C | 75 °C | 105 °C |
| Perimeters / infill | 3 / 20 % | 3 / 20 % | 4 / 20 % |
| Part cooling | 100 % | 40 % | 0 to 10 % |
| Retraction (direct drive) | 0.8 mm | 1.0 mm | 0.8 mm |
Tune one setting at a time, print the test piece, and change nothing else until you have seen the result. If a part still will not print well, or needs a material your machine cannot hold at temperature, our FDM service runs the same materials on industrial machines; send the file through the quote page and say what it has fought you on.