










3D Printed Electronics Enclosures: Materials, Design, Cost

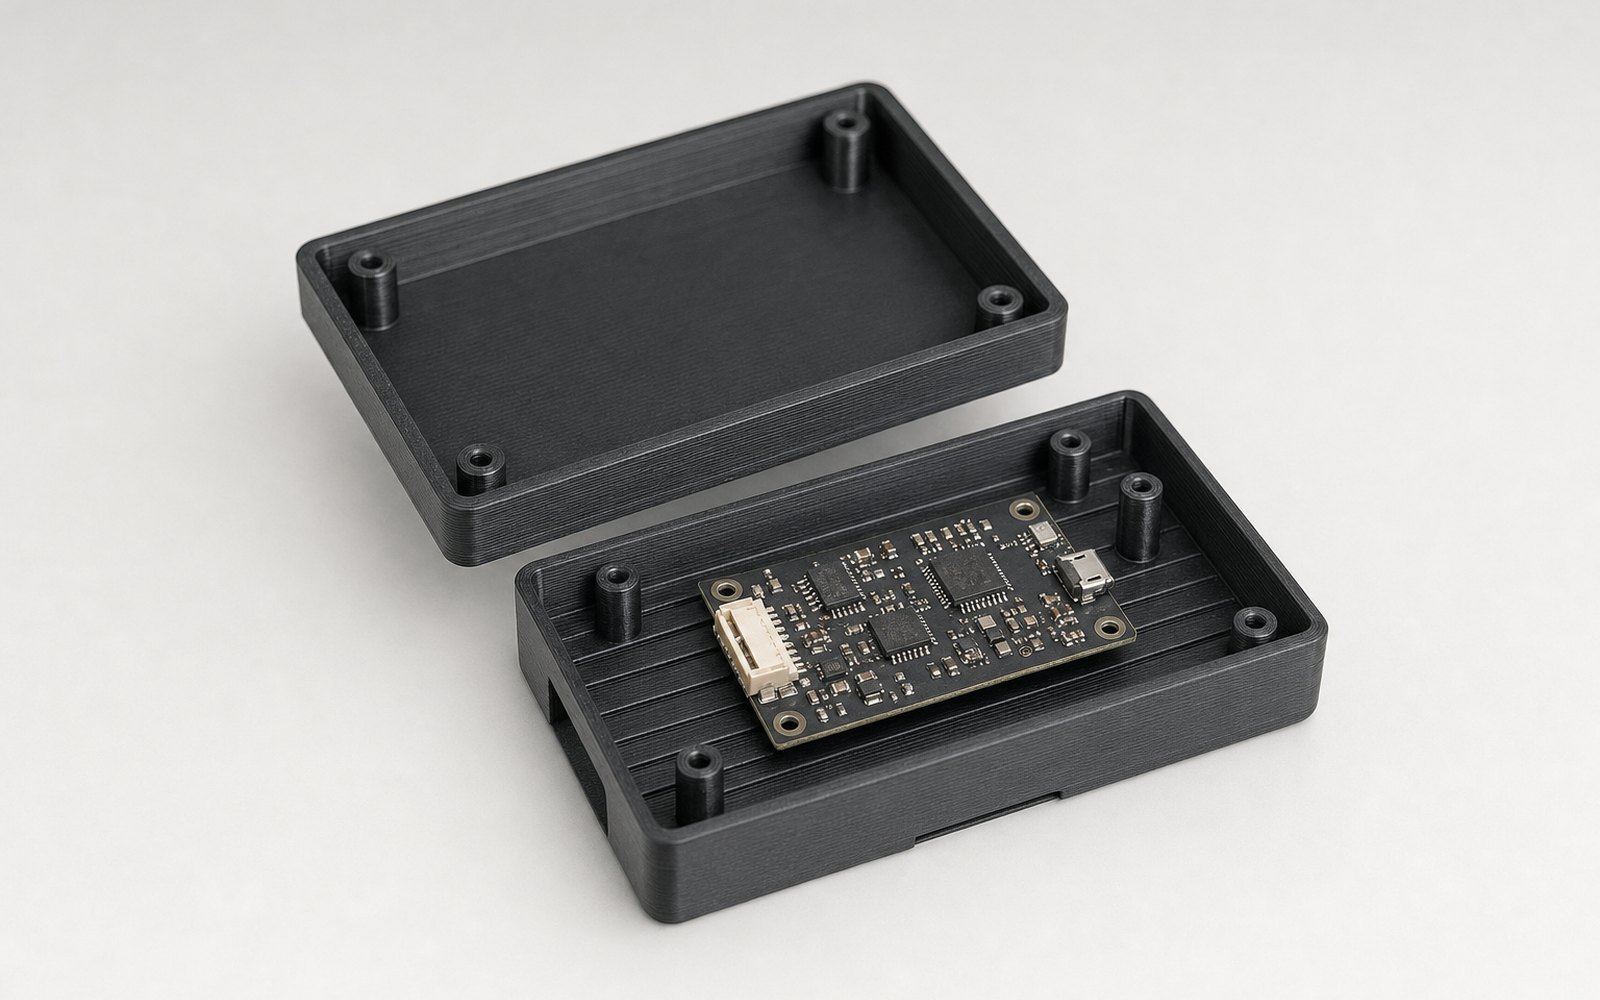
3D printed electronics enclosures are the first thing most engineers print and the part most of them print worst. A box is easy to model and easy to get wrong: walls too thin to hold an insert, a lid that will not close over the PCB, vents that let the dust in and the heat stay. This is what we have learned printing enclosures for one board and for five hundred, in the order the decisions get made.
Start with what the enclosure has to survive
A bench prototype, a box on a factory wall and a sensor on a rooftop are three different parts that happen to share a shape. Before choosing a material, write down the environment: indoor or outdoor, the hottest surface the box will touch, whether it is handled, whether it is dropped, and what has to get in and out of it. Every other choice follows from that list.
Materials, from the bench to the roof
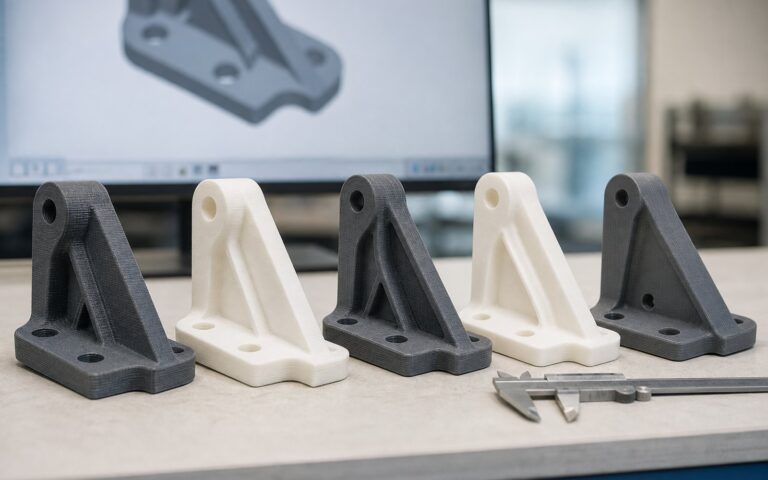
- PLA for the bench. Fast, stiff and cheap, with fine detail. It softens above about 55 °C, so it stays indoors and away from anything warm.
- PETG for indoor products that get handled. Tougher than PLA, prints without an enclosure, and translucent grades let an indicator LED show through the wall.
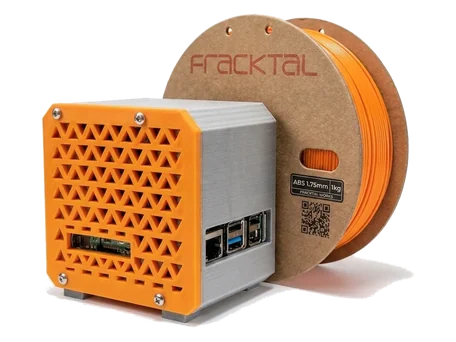
- ABS when the box needs to look moulded. It vapour-smooths to a glossy, layer-free finish and takes paint well. It also handles more heat than PETG.
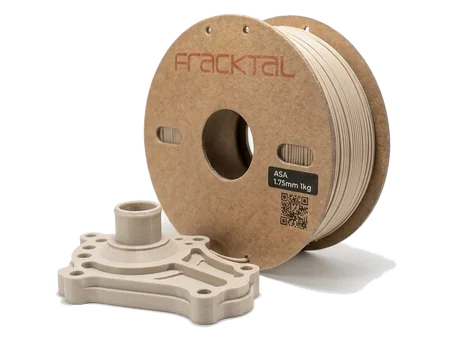
- ASA for anything outdoors. It is ABS with UV resistance, so it does not chalk or yellow in the sun. Junction boxes, sensor housings and antenna covers on a roof are ASA parts.
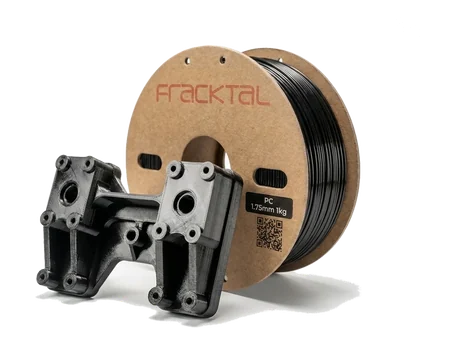
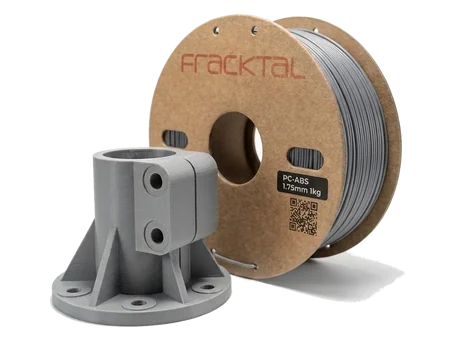
- Polycarbonate and PC-ABS for housings near heat, or that must survive an impact without cracking: motor drives, power supplies, anything with a flame-retardant requirement in the spec.
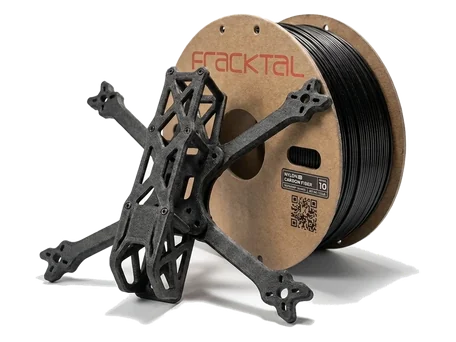
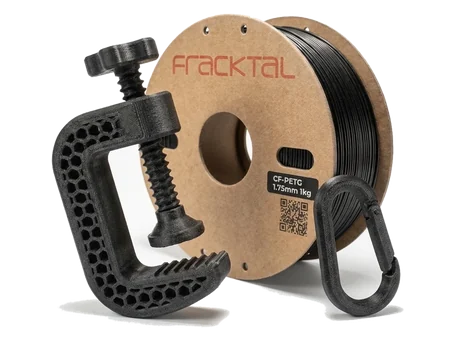
- Carbon-fibre nylon where the enclosure is also a structural bracket, or where dimensional stability across a wide temperature range matters.
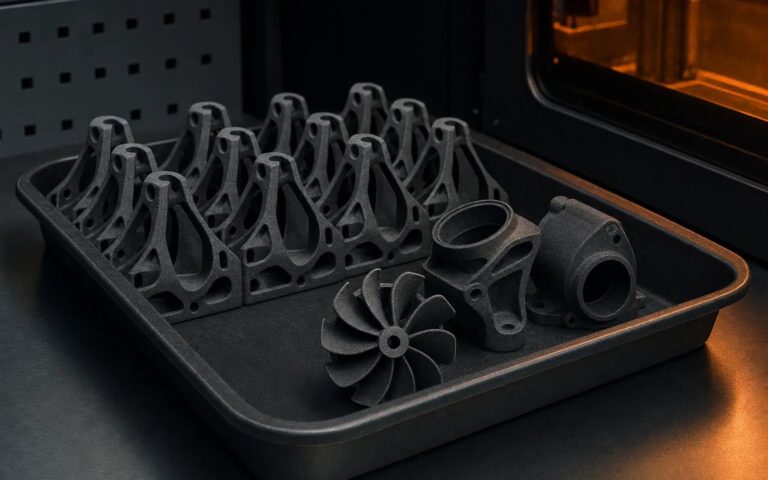
- Nylon 12 by SLS for batches: a uniform matt surface, no support marks, and fifty boxes in one build.
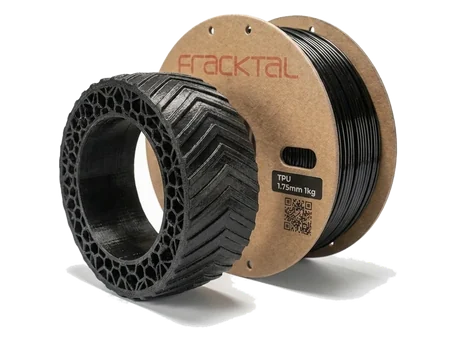
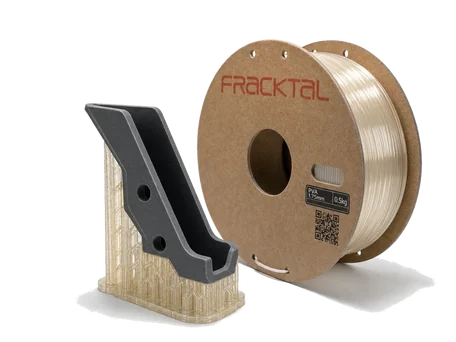
One material we do not use for enclosures is TPU, except as a gasket or a bumper on a rigid box. A soft enclosure is a soft mounting for the PCB, and connectors work loose.
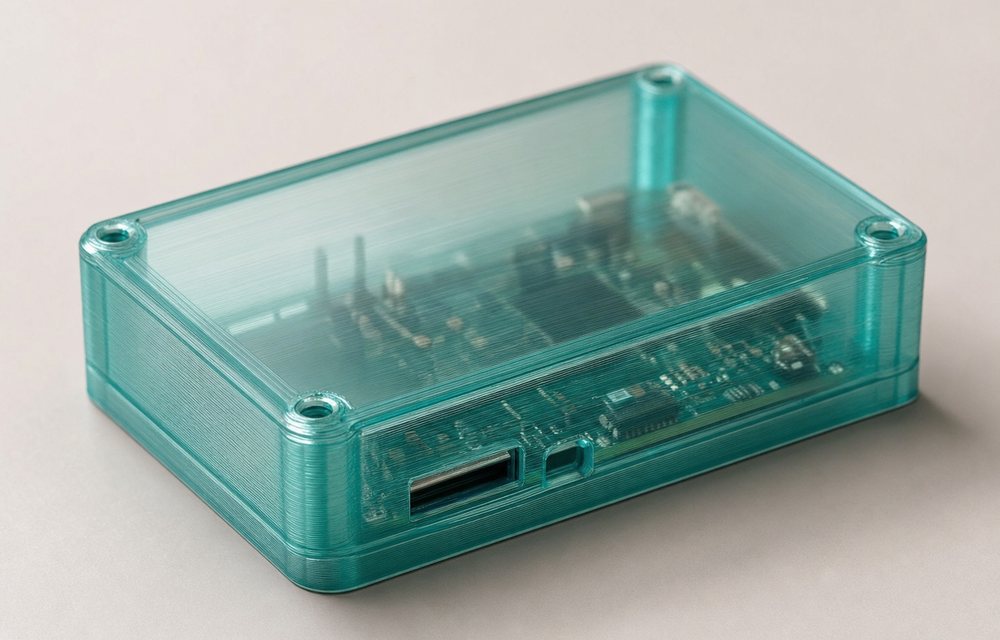
Design rules for a printed box
These are the rules we check every enclosure against before printing. Most problems on the first print trace back to one of them.
- Walls at 1.5 to 2 mm. Thinner walls print, then flex, and inserts pull out of them. On a box longer than 150 mm, go to 2.5 mm or add ribs.
- Bosses with heat-set inserts. Model a boss of at least twice the insert’s outer diameter and a hole about 0.2 mm under the insert’s nominal size. Printed threads survive two assemblies; inserts survive hundreds.
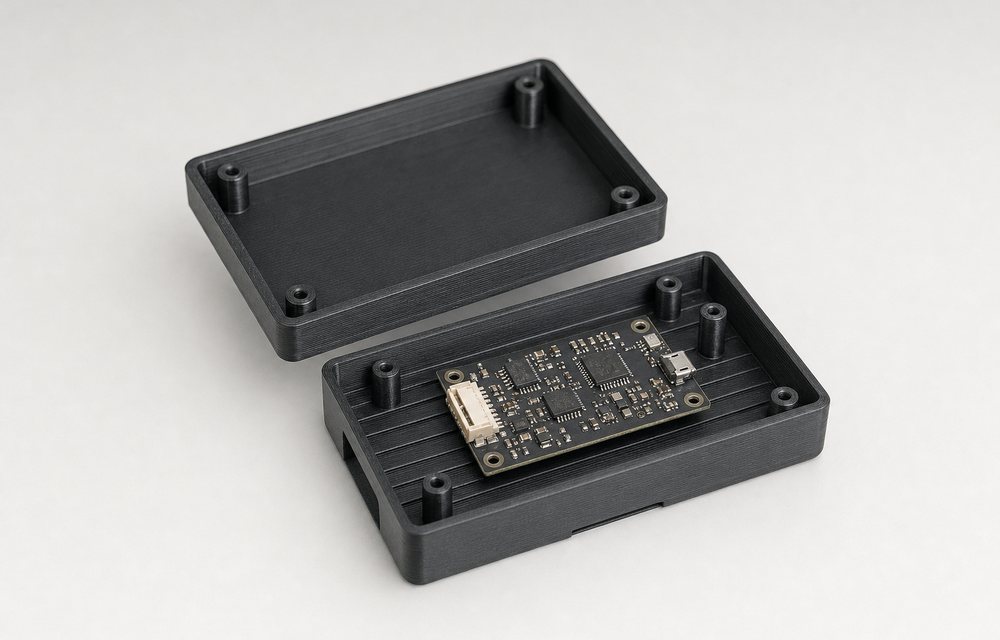
- Standoffs for the PCB at the board’s mounting holes, with 0.3 mm of clearance around the board outline and at least 3 mm between the underside of the board and the floor.
- A lid that locates. A lip and a recess, 1 mm tall, keep the lid aligned and close the gap that a flat butt joint leaves. Add a gasket groove if the box has to seal.
- Connector cut-outs with clearance. Holes print 0.2 to 0.4 mm undersize in FDM. Add clearance to the cut-out, not to the connector.
- Ventilation that works. Slots low on one side and high on the other move air by convection. Slots on the top only let rain in.
- Cable glands, not bare holes. A standard M12 or M16 gland seals the cable entry and gives strain relief. Model the hole at the gland’s thread diameter.
- Text and logos embossed at least 0.5 mm high and 1 mm wide, or they blur.
The full list, with the dimensions per process, is on our design for 3D printing page.
Sealing, and what an IP rating means for a printed part
An IP rating is a test result, not a material property, and a printed enclosure has two extra paths for water that a moulded one does not: between layers, and along the surface of a support scar. Both are manageable.
For dust and splash protection (IP54 and thereabouts), print with three or more perimeters so the walls are solid, fit a TPU or silicone gasket in a groove, and use proper glands. For submersion ratings, a printed enclosure needs a coating or vapour smoothing to close the surface, and it needs to be tested rather than assumed. We say that plainly because we have seen specifications written on the assumption that IP67 comes free with the CAD file.
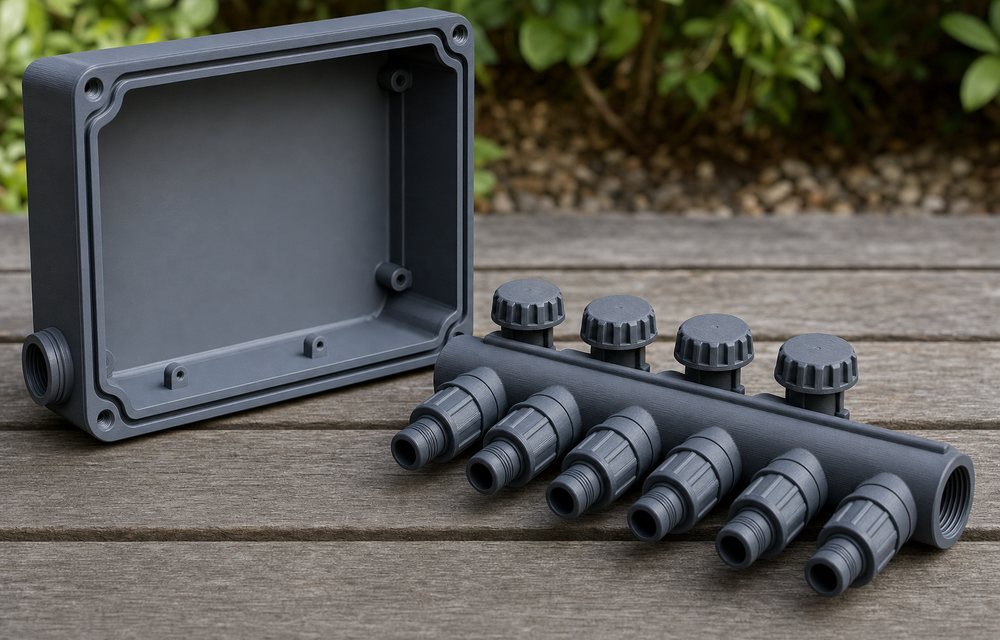
Finish: from prototype to product
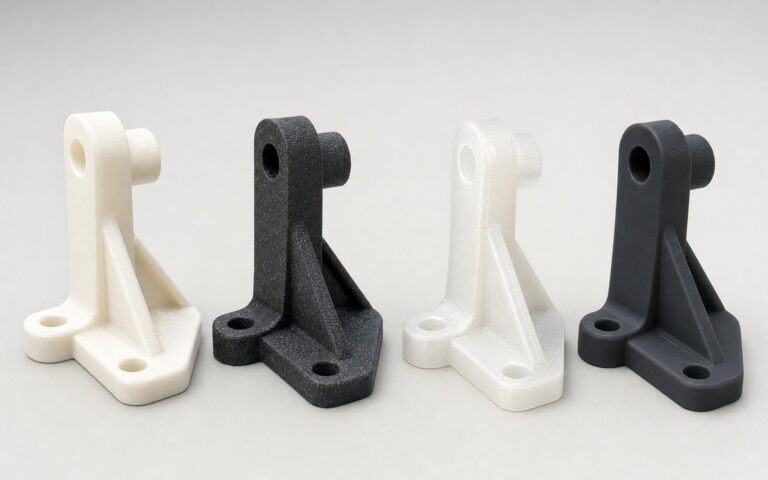
A printed enclosure straight off the machine shows layer lines and, on the underside, the marks of supports. For a prototype that is fine. For a product, three finishes cover most needs: light sanding and a matt paint for a clean industrial look; vapour smoothing on ABS or ASA for a glossy, moulded surface; and SLS nylon, dyed black, for a uniform matt part with no post-work at all. Our finishing and assembly page shows each.
Cost and quantity
The right process changes with the number.
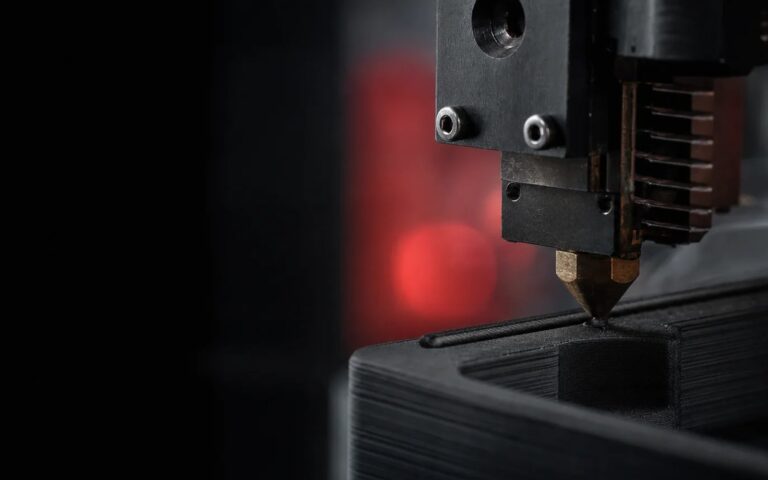
- 1 to 50 enclosures: FDM in the material the environment needs. Cheapest per part at this volume, and every one can be different.
- 50 to 500: SLS or MJF in nylon. A whole bed prints at once, so the price per box falls sharply, and the parts are consistent enough for a product.
- A moulded look in dozens: vacuum casting from an SLA master, in ABS-like polyurethane, with colour and texture matched to the final product.
- Thousands: injection moulding, and the printed enclosures were how you validated the design before paying for the tool.
What we need to quote an enclosure
A STEP file of the enclosure, the PCB outline or the board’s mounting-hole positions, the environment from the first section of this article, and the quantity. With those four, an engineer checks the wall thicknesses, the inserts and the lid before we price it, and the quote that comes back is for a part that closes. Start on the quote page.