










3D Printing for Drones: Frames, Mounts and Small Batches

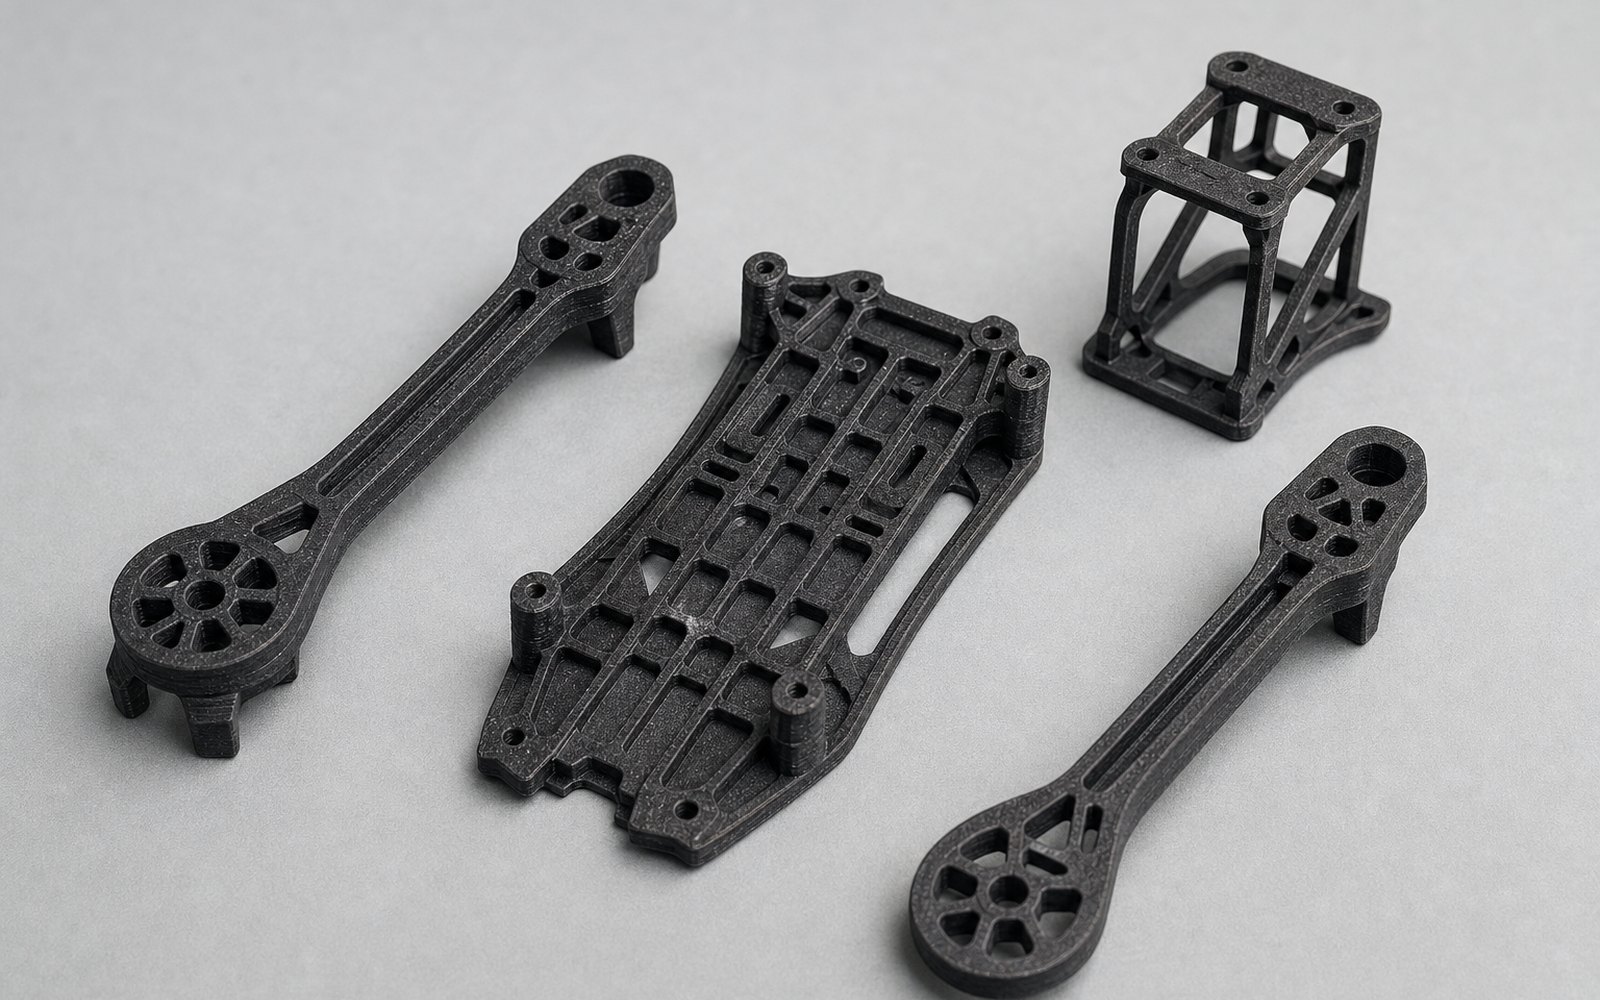
3D printing for drones works because a drone is an argument between stiffness and mass, settled in grams, and re-argued after every crash. A printed arm can be redesigned on Tuesday, flown on Wednesday and improved on Thursday. No other way of making an airframe part gives a small team that loop, and it is why almost every drone company in India has a printer running next to the flight bench.
This is what gets printed on a drone, in what material, and what changes when a prototype becomes a batch.
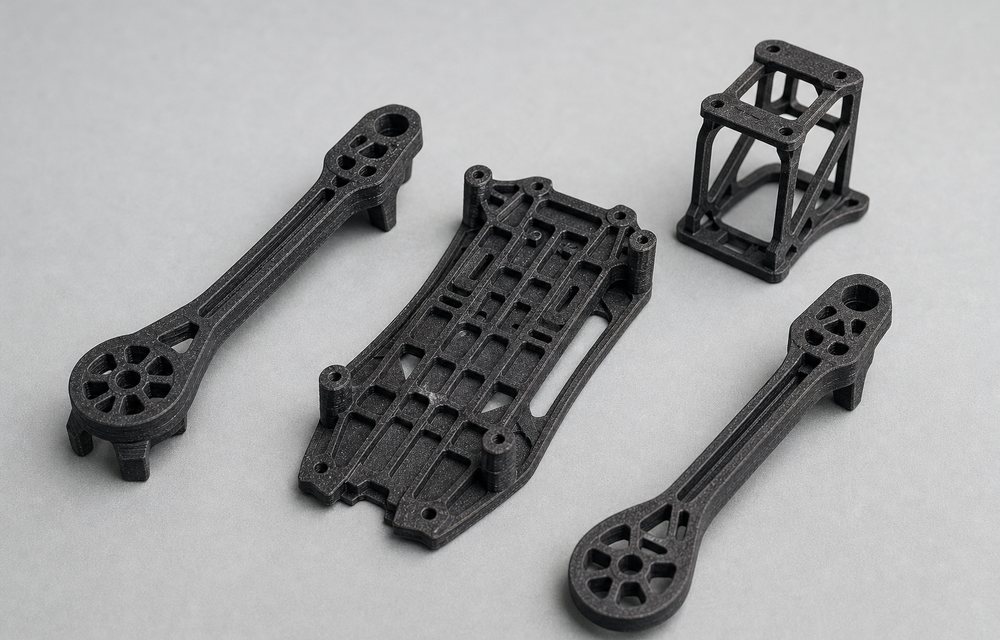
The parts that get printed
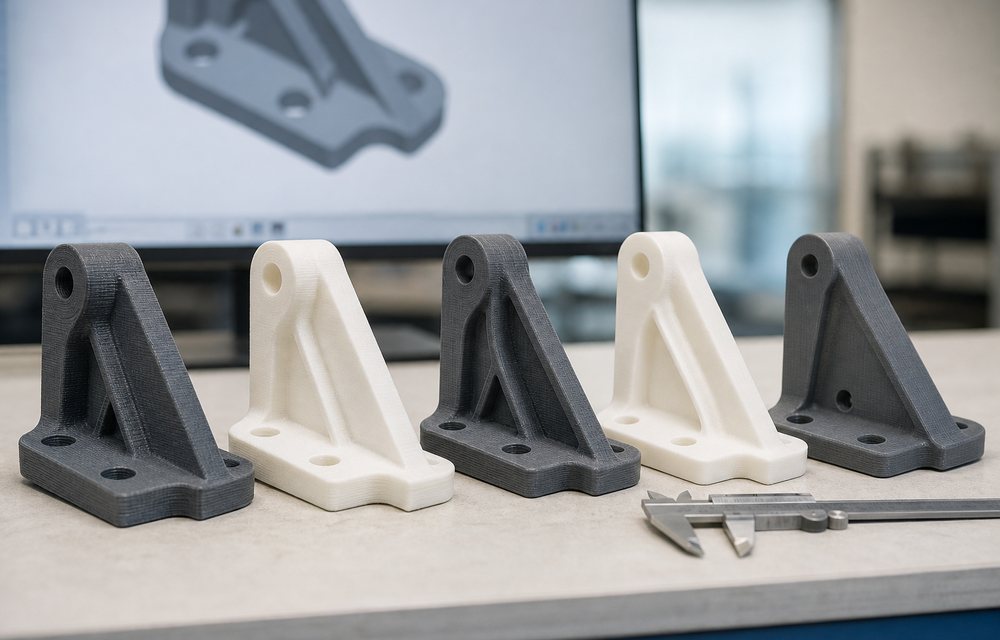
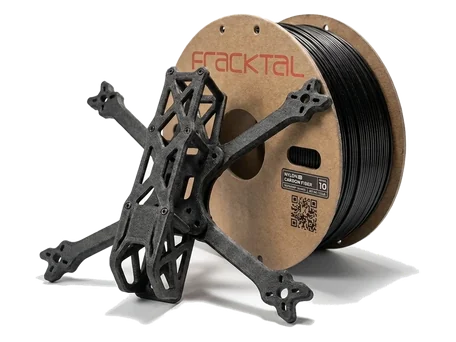
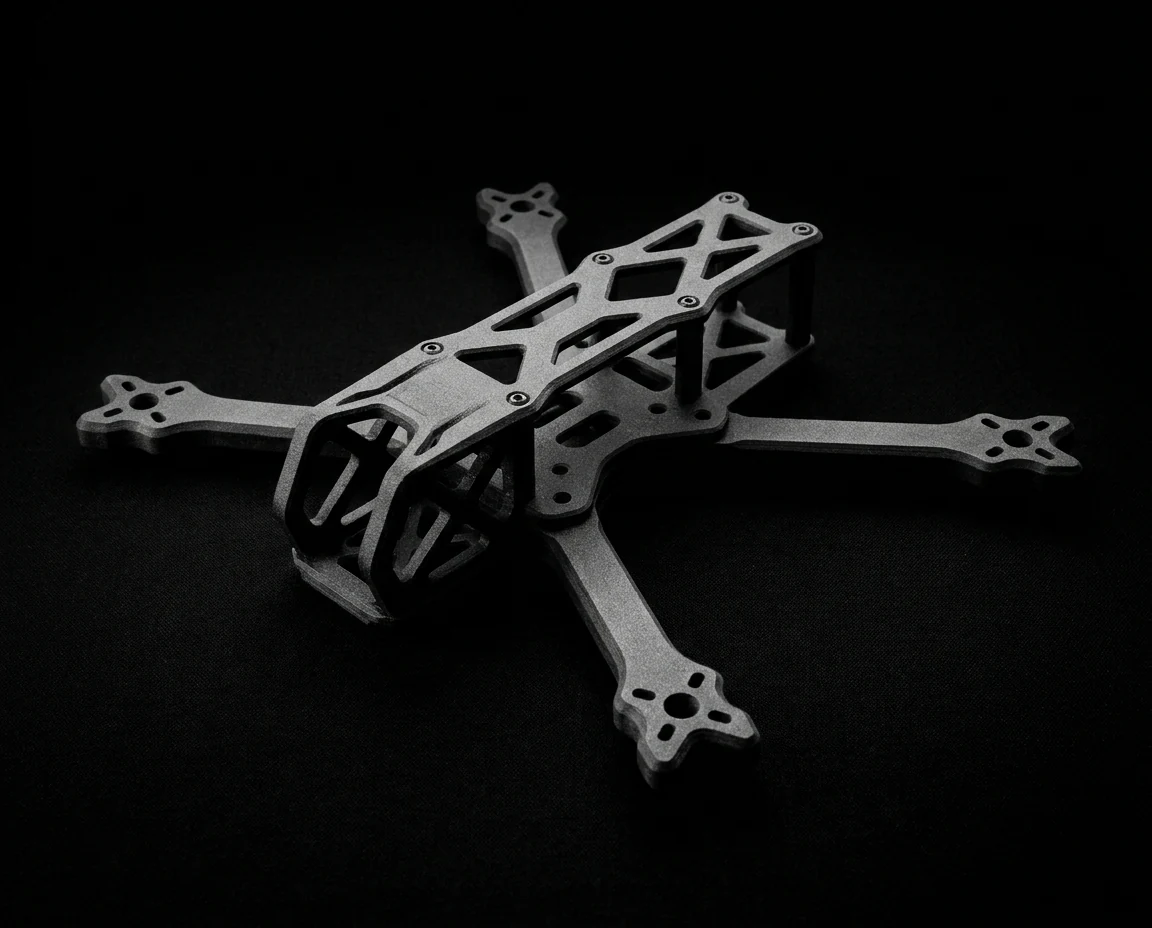
- Arms and frame plates on prototypes and small drones, where a printed carbon-fibre composite is stiff enough and the design is still changing.
- Motor mounts. The part that takes vibration and the first hit in a crash. Printed mounts are cheap enough to be sacrificial, which protects the motor and the arm.
- Landing gear and skids in nylon or TPU, where a little flex absorbs a hard landing.
- Camera and gimbal parts: mounts, vibration-isolation plates, lens hoods and the housings around a sensor.
- Battery trays and payload mounts. Every payload is different, so every mount is different, and the mount is where the mass sits.
- Antenna mounts, GPS masts and canopies in materials that are transparent to radio.
- Ducts and propeller guards for indoor and inspection drones.
- Jigs for the build: arm alignment fixtures, soldering jigs and propeller balancers that never leave the bench.
Materials: the stiffness-to-mass trade
A drone part is chosen by stiffness per gram, then by how it fails.
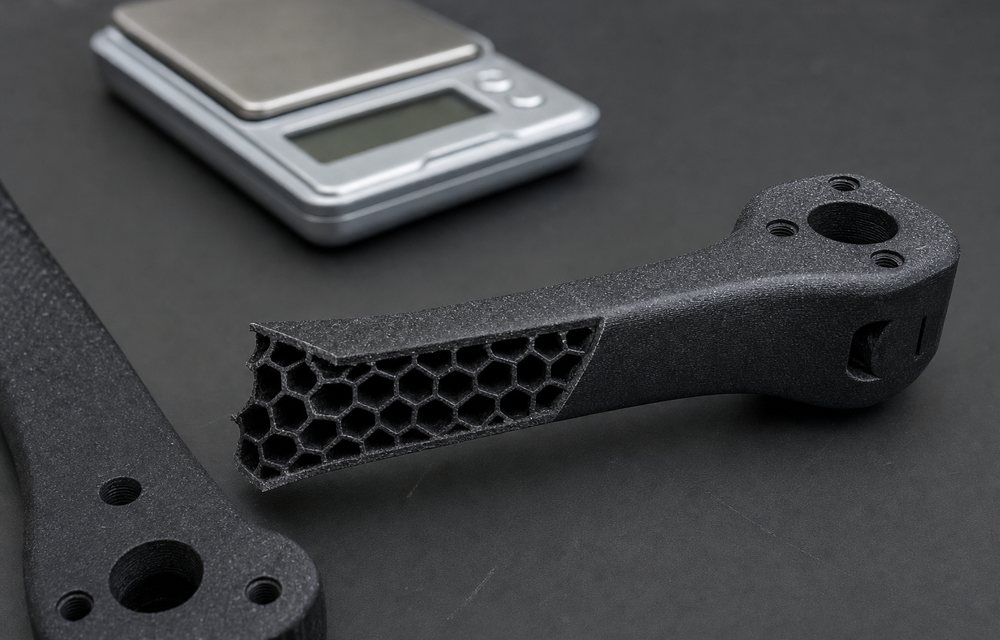
- Carbon-fibre nylon is the airframe material. The chopped fibre roughly doubles the stiffness of the nylon it is in, the surface prints matt and dimensionally stable, and the part fails by cracking at a predictable place rather than by creeping under load. It wants a hardened nozzle and a dry spool; the fibre is abrasive and the nylon is hygroscopic.
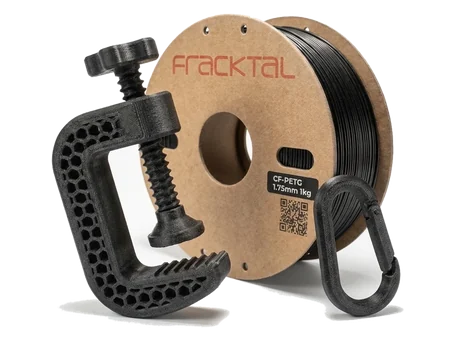
- Carbon-fibre PETG is the easier-printing alternative for frames and brackets that are not the primary structure. Stiffer than PETG, less demanding than CF-nylon.
- TPU for landing feet, bumpers, camera dampers and anything that meets the ground.
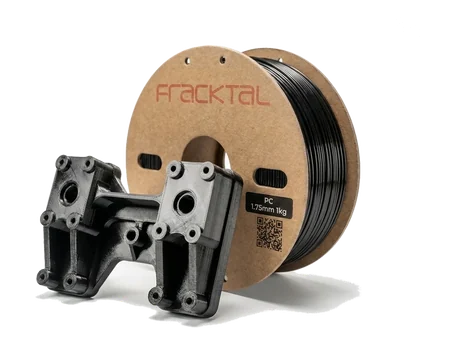
- PETG and polycarbonate for canopies, covers and battery boxes: transparent to radio, tough, and PC handles the heat next to an ESC.
- Nylon 12 by SLS for batches of airframe parts with consistent properties in every direction and no support marks.
PLA is for checking fit and clearance only. It softens in a car parked in the sun, which is where drones spend their time between flights.
Design rules for airframe parts
The parts that survive are the ones designed around how a printed part fails.
- Layers along the load. A printed arm loaded in bending should have its layers running along its length. The layer boundary is the weak plane in FDM, and an arm printed standing up snaps at a layer on the first hard landing.
- No sharp roots. Where an arm meets the centre plate, or a motor mount meets the arm, add a generous fillet. A sharp internal corner is where the crack starts.
- Thicken, don’t infill. Stiffness comes from perimeters and from section depth, not from a dense infill. Four perimeters and a taller section beat 80 % infill at a fraction of the mass.
- Design the failure. A motor mount that breaks before the arm does is a design choice that saves the arm and the motor. Give it a deliberate weak point.
- Inserts for anything bolted. Motor screws go into heat-set inserts or through to a nut, never into printed threads.
- Vibration. Isolate the flight controller and camera on TPU bushings or a printed compliant mount, and keep printed parts away from resonating with the props.
Testing: crash it, measure it, change it
The advantage of printing is only realised if the loop actually closes. Fly the part, and when it breaks, photograph the fracture before you redesign: the break tells you whether the layers, the geometry or the material was the problem. Our drone and UAV parts page shows a stiffness test rig for exactly this, and a bracket redesign that took three iterations and two days.
From a prototype to a batch of two hundred
A drone that is going to be manufactured needs parts that are the same every time. That is a different job from prototyping, and it usually means moving the structural parts to SLS or MJF nylon, where a bed of arms prints at once with the same properties in every direction. Motor mounts, gimbal parts and payload frames in carbon-fibre nylon stay on FDM, printed on machines with a heated chamber so the batch does not warp.
We set out that path, and what each step costs, on our drone manufacturing in India page. India’s drone rules require every drone above the nano class to be registered and type-certified through the DGCA’s Digital Sky platform, and type certification is easier to hold when the airframe parts come from a repeatable process with a material certificate behind them. Batches printed here in Bengaluru ship with that paperwork.
Sending us a drone part
Upload the file on the quote page and tell us three things: the take-off mass, which direction the part is loaded, and whether it is a prototype or a batch. The first two decide the material and the orientation; the third decides the process. An engineer confirms both before it is printed.