














Bed Adhesion Diagnostic
Three questions — what you are printing, what you are printing on, and what is going wrong — and you get the fixes in the order worth trying them, with the bed and nozzle settings that material actually wants. The free fixes come first because they are usually the answer. The bottle appears where they run out.
What Are You Printing, and What Is It Doing?
Three choices. The answer updates as you change them, and it puts the free fixes before the bottle every time.
Do these in order
- 1Check the nozzle gap first
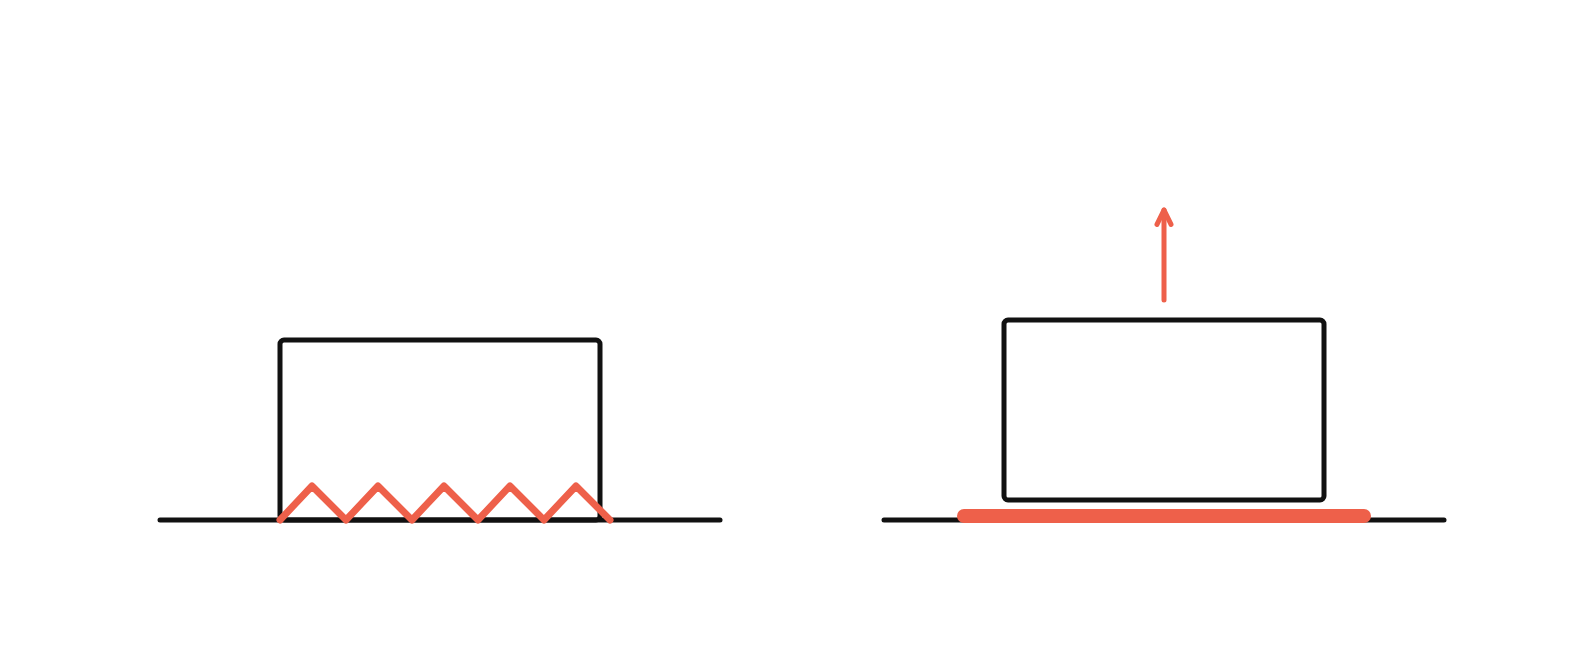
Print a single-layer square. Correct looks like a continuous sheet with faint lines where the strands met, at roughly 0.8 times the nozzle diameter. Round, separate strands mean the nozzle is too high. Adjust the Z-offset in 0.02 mm steps.
- 2Wipe the plate with isopropyl alcohol
Skin oil from one fingertip is enough to stop the first layer bonding over a patch several centimetres across, and the plate looks perfectly clean. Do the whole plate, not the middle, and handle a flex sheet by its edges.
- 3Give the bed five minutes at temperature
A bed that reads its set point at the sensor is not yet at that temperature across the whole plate. If the centre holds and the edges do not, this is usually why.
- 4Check the plate is flat
Print a single-layer square across the whole plate and look at where the strands sit proud. A failure in the same place every time is flatness; a failure that moves is contamination.
Grips chemically. Goes glassy after a few hundred prints and stops gripping — wash it with soap and water before deciding it is worn out. Never acetone.
Which formula
Standard, and often nothing at all — a clean plate at the right temperature holds these without help. Reach for it on a large flat footprint, a worn smooth PEI sheet, or a tall narrow part on textured PEI.
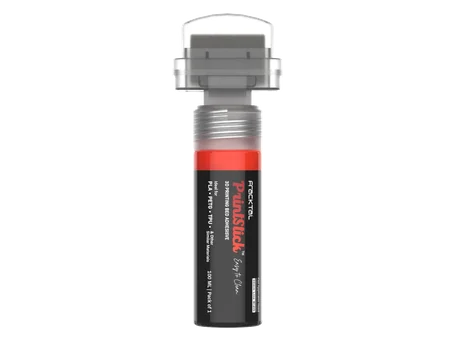
Add PrintStick Standard to cart ₹1,199
Cheapest Thing First, Every Time
The order is the whole point. Nearly every adhesion complaint is a nozzle sitting too high, a plate with skin oil on it, or a bed that never reached temperature — and all three are free. A reader who buys a bottle when the nozzle was 0.1 mm out has been sold something that was never going to work, and will say so.
So the tool opens with the free fixes for every combination, adds a material-specific note only where it changes the answer, and names a formula last. On PLA it says outright that you probably do not need one. On polypropylene it says that neither formula will help, because nothing bonds to PP except PP.
Every bed, nozzle, enclosure and cooling figure is read from the same materials database the twelve material pages use, so the tool cannot drift away from what those pages say.
The answer on this page is rendered by the server, not assembled in the browser. With scripts blocked the choices are still real radio controls and the panel still shows a complete, correct answer. It just will not change until the page reloads.
Questions About Diagnosing Bed Adhesion
How do I diagnose a 3D print that will not stick to the bed?
Does a failure that moves around the plate mean something different?
Which PrintStick formula do I need?
Do I need a bed adhesive at all?
Why does the tool ask which build plate I am using?
The Rest of the Guide
- The full bed adhesion guideFifteen pages, by symptom and by reference
- Bed temperature by materialAll twelve, in one table
- Build plate guidePEI, glass, Garolite, flex
- How to clean a build plateThe most-skipped free fix
- Why 3D prints warpShrinkage, and the five levers
- PrintStickStandard below 80 °C, Plus above
Or Let Someone Else Fight the First Layer
Fracktal prints in all twelve of these materials on its own floor in Bengaluru, on machines it builds and supports. Send the file and get the part.