











Why Your 3D Print Is Not Sticking to the Bed
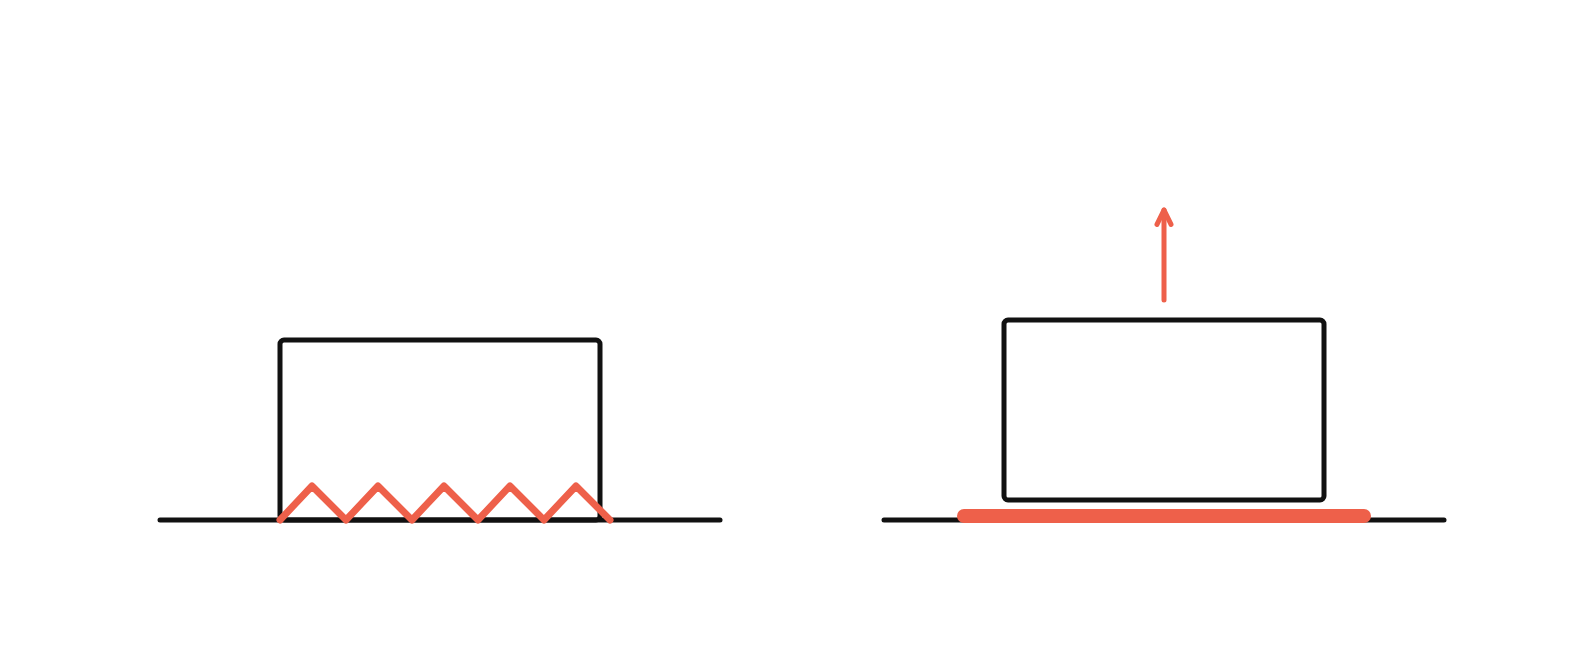
Nine times out of ten it is the nozzle gap. The first layer should be squashed flat against the plate — about 0.8 times the nozzle diameter, so a 0.4 mm nozzle lays a 0.32 mm layer — not laid down as round strands you can see daylight between. Fix that first. Then bed level, then bed temperature, then a clean plate. Everything else on this page is what to check when those four have not done it.
An adhesive is the last item on this list, not the first. Most prints that will not stick have a mechanical cause, and adding glue on top of a bad first layer hides the symptom for one print and wastes a bottle. Work down in order. If you reach the bottom and the part still lifts, that is the point where chemistry is the honest answer — and on ABS, PC, Nylon or a large flat footprint you will reach it faster than you expect.
Eight Causes, In the Order to Check Them
Ordered by how often each one is actually the cause, not by how interesting it is.
01 · The nozzle is too far from the bed
The single commonest cause. Print a 20 mm single-layer square and look at it side-on: the extrusions should have merged into a sheet with no gaps, and the top should look slightly glossy where the nozzle ironed it. If you can see separate round strands, lower the Z-offset in steps of 0.02 mm until they merge. Too close is its own failure — a transparent, rippled first layer with ridges is over-squash.
02 · The bed is level but not flat
Two different faults. Screws fix level; nothing fixes flat except mesh compensation or a new plate. A bed that is right at the centre and 0.3 mm low at one corner will hold three corners of a large part and release the fourth on every single print, which is why the failure looks random until you notice it is always the same corner.
03 · The bed is at the wrong temperature
Too cold and the polymer freezes before it wets the surface. Too hot and the first layers stay soft, the part spreads at the base — ‘elephant foot’ — and can shift under the nozzle. The table below gives the working range for all twelve materials we publish settings for. Check the real plate temperature with a probe once: bed sensors read the heater, not the glass.
04 · The plate is contaminated
One fingerprint is enough. Skin oil, filament dust, and the residue left by earlier adhesives all stop the polymer wetting the surface. Isopropyl alcohol on a lint-free cloth, or warm water and dish soap for a PEI sheet that IPA has stopped cleaning. Never touch the printing area with bare fingers afterwards.
05 · The part is cooling too fast
Part cooling belongs to overhangs, not to the first layer. Most slicers already disable the fan for layer one; check that yours does, and keep it off for the first three layers on anything that shrinks. A draught from an open window or an air conditioner does the same damage more quietly — enclose the printer, or move it.
06 · The footprint is too small, or too sharp
A tall part on a 12 mm base has almost no bond area and a long lever arm. A brim of 5–8 mm multiplies the contact area for a few grams of filament and peels off afterwards. Rounding the base corners by 2–3 mm does more than it sounds: warping force concentrates where the corner is sharpest, which is exactly where lifting starts.
07 · The filament is wet
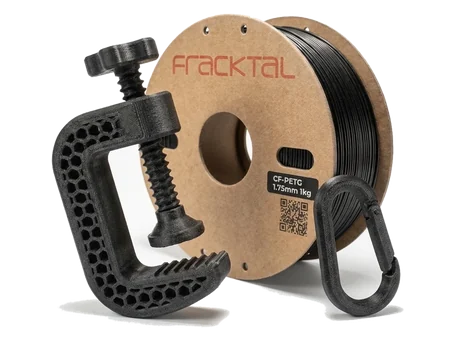
Nylon, PC, TPU, CF-PETG and PVA absorb water from the air, and a wet filament pops and foams as it extrudes. The first layer then lands as a broken, bubbled line that cannot bond. If the nozzle is crackling, dry the spool before you change anything else — 80 °C for eight hours for Nylon, 65 °C for four for PET-G.
08 · The surface and the material do not suit each other
Textured PEI grips PLA beautifully and gives ABS almost nothing to hold. Bare glass is smooth enough that only a chemical bond works. Nylon needs Garolite or an adhesive layer. This is the point at which an adhesion promoter stops being a patch and becomes the correct component — see below.
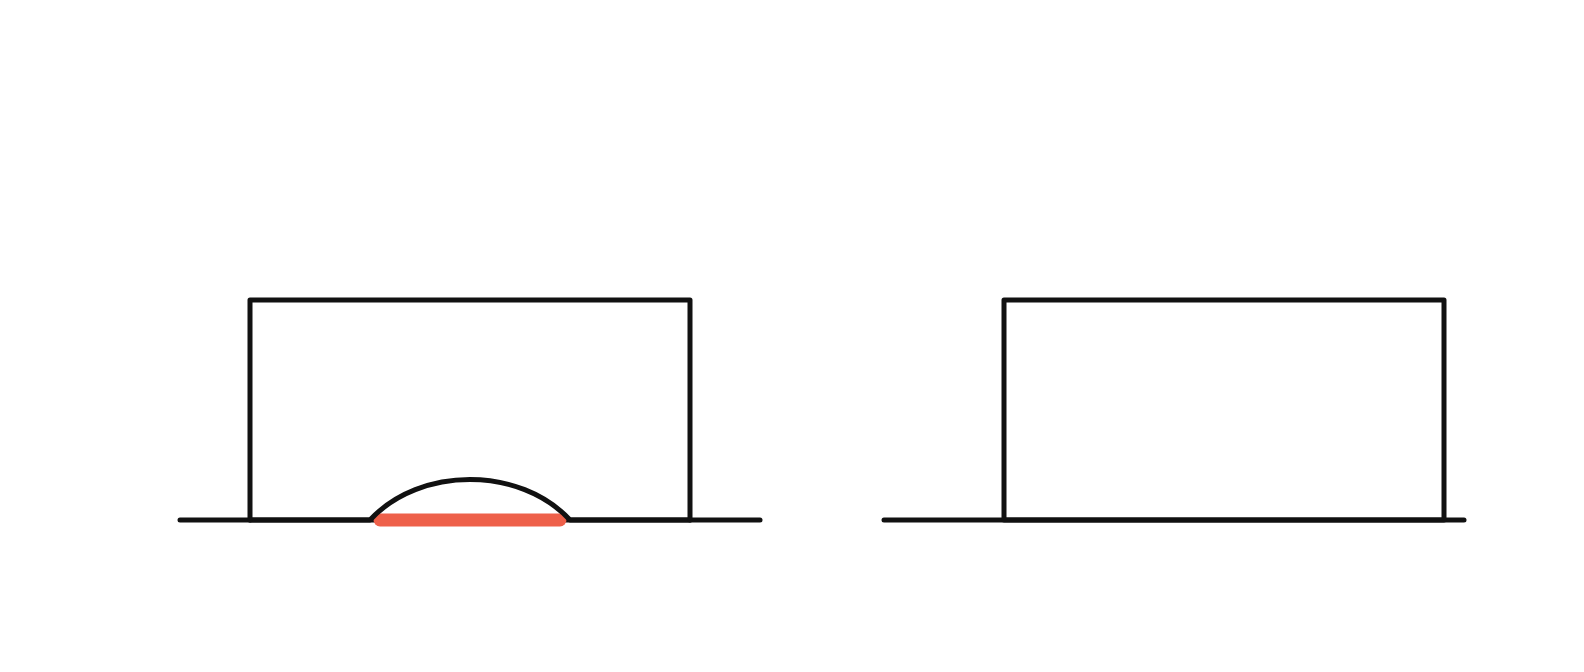
A Plate That Looks Clean
Bed Temperature and Surface, All Twelve Materials
| Material | Bed | Nozzle | Surface that works | Enclosure | Adhesive |
|---|---|---|---|---|---|
| PLA | 0–60 °C | 190–220 °C | PEI, glass, textured sheets | No | Rarely needed |
| PET-G | 60–85 °C | 225–250 °C | PEI — see the release-layer note | No | As a release layer |
| CF-PET-G | 70–85 °C | 240–265 °C | PEI with adhesive | No | Standard |
| TPU 95A | 0–60 °C | 215–240 °C | PEI, smooth glass | No | Helps on smooth plates |
| ABS | 95–110 °C | 220–250 °C | PEI, Kapton | Yes | Plus |
| ASA | 95–110 °C | 240–260 °C | PEI, Kapton | Yes | Plus |
| Polycarbonate | 80–120 °C | 265–310 °C | PEI with high-temp adhesive | Yes | Plus |
| PC-ABS | 100–115 °C | 250–275 °C | PEI with adhesive | Yes | Plus |
| Nylon PA12 | 60–100 °C | 240–270 °C | Garolite G10 | No | Plus |
| CF-Nylon | 80–110 °C | 260–285 °C | Garolite G10 | Yes | Plus |
| PP | 80–100 °C | 220–245 °C | PP sheet or packing tape | Yes | Surface first |
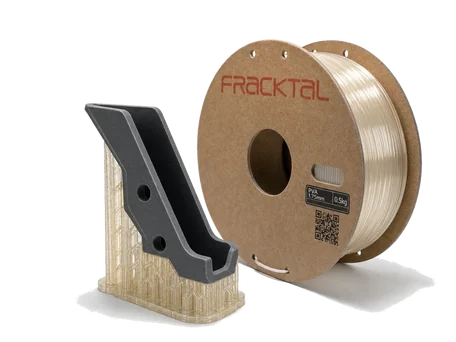
| PVA | 45–60 °C | 190–215 °C | PEI or glass with adhesive | No | Standard |
An Adhesive Is a Component, Not a Patch
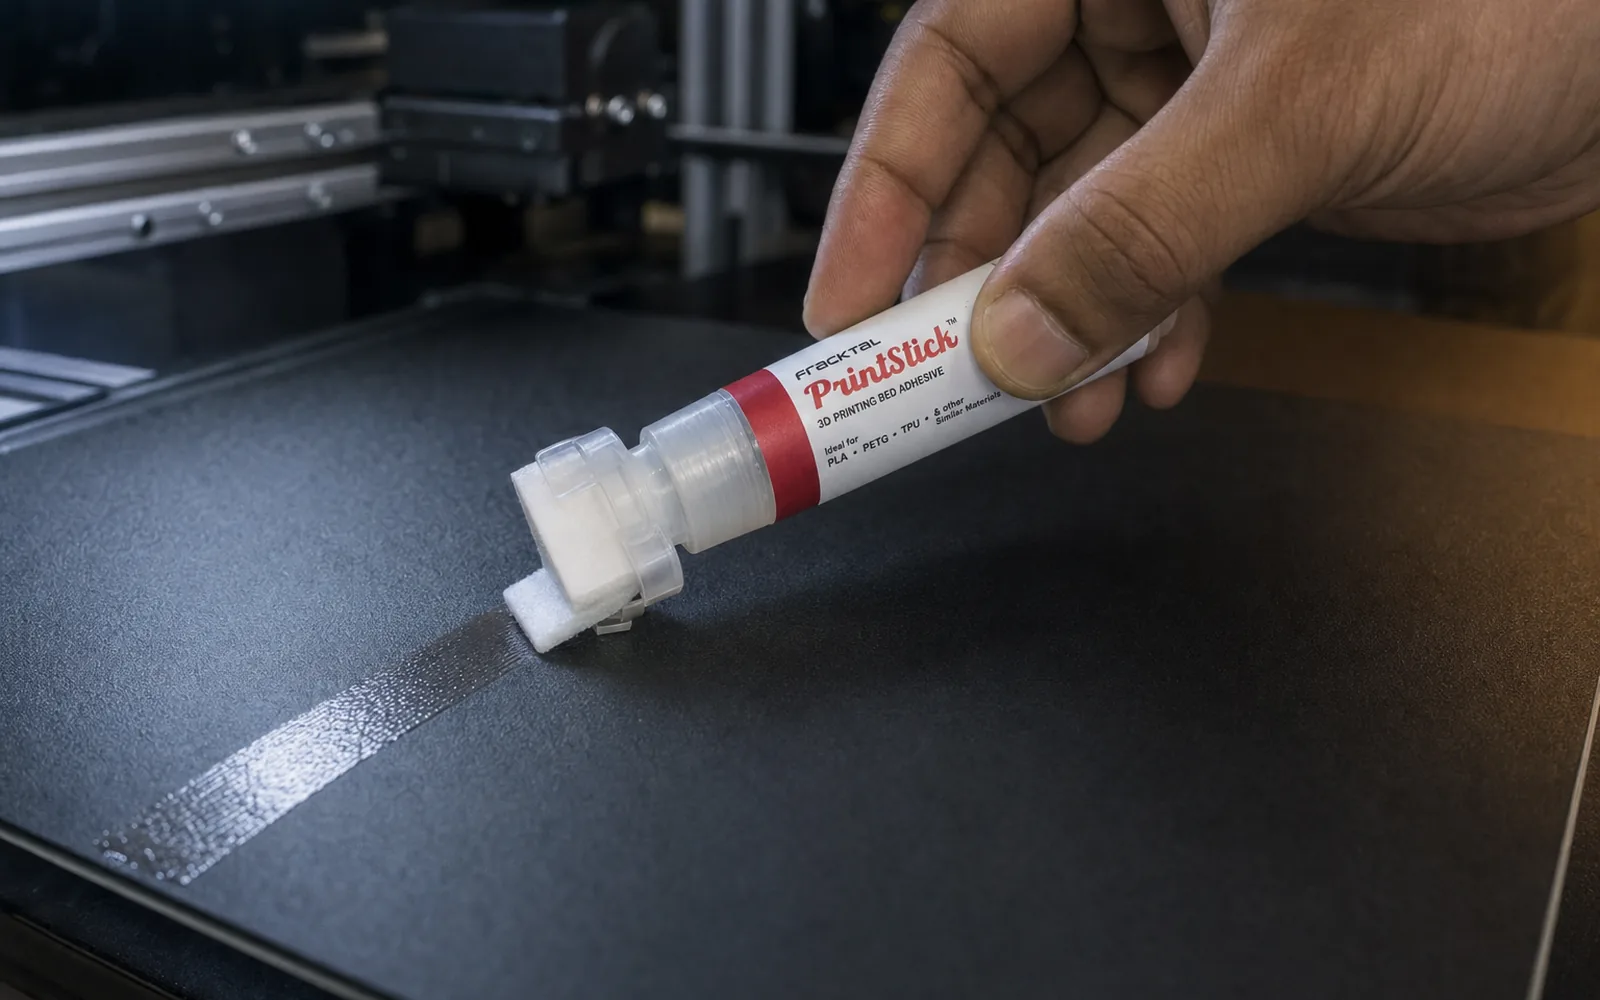
There is a reason bed glue has a poor reputation: it is usually sold as a cure for bad levelling, and it is not one. Its real job is narrower and more useful. It is a controlled interface between the part and the plate — strong while the plate is hot, releasing as it cools, and thin enough that it does not change the first-layer geometry you just spent an evening dialling in.
That interface is not optional for some combinations. ABS on bare PEI at 100 °C will lift a 150 mm part at the corners whatever you do with Z-offset. Nylon on anything but Garolite needs chemistry. And PET-G has the opposite problem — it bonds to bare PEI hard enough to tear chips out of the sheet, so the film goes on as a release layer to protect the plate.
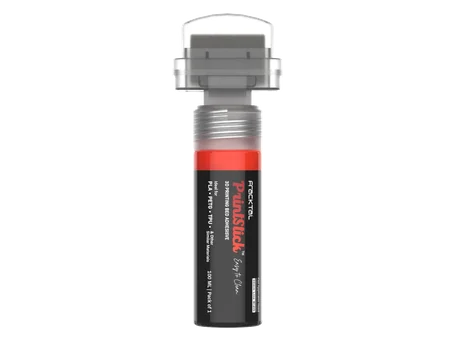
PrintStick is one thin pass of a 30 mm felt head, water-washable, and it leaves nothing on the underside of the part. Standard covers the materials that print below 80 °C; Plus is formulated for hot plates from 80 °C up.
Questions People Ask When Prints Will Not Stick
Why is my 3D print not sticking to the bed?
What should the first layer look like when it is right?
How much should I squash the first layer?
Is bed adhesive cheating?
Can I just use a glue stick or hairspray?
Does a heated bed matter if I print only PLA?
If It Is More Specific Than This
- First layer not stickingA 10-minute fix list, in order
- ABS lifting at the cornersShrinkage, enclosure, then chemistry
- Print came loose mid-jobThe failure that costs machine hours
- Spaghetti on the bedWhat it means and how to stop it
- Glue stick vs hairspray vs adhesiveIncluding where hairspray wins
- Build plate guidePEI, glass, BuildTak, flex sheets
- The full bed adhesion guideEvery cause, every material, one page
- PLA not stickingNozzle gap, skin oil, cold bed
- How to clean a build plateThe most-skipped free fix
- Bed temperature by materialAll twelve, in one table
- PrintStick bed adhesiveTwo formulas, 50+ applications a bottle
Print It Right the First Time
Fracktal builds FDM machines in Bengaluru and prints on them every day. If the part matters more than the process, send us the file and we will print it.