












First Layer Not Sticking: A 10-Minute Fix List
Start with the Z-offset and nothing else. Print a single-layer 20 mm square, look at it side-on, and lower the nozzle in 0.02 mm steps until the extrusion lines have merged into one sheet with no gaps. That fixes most first-layer failures on its own. The other six checks below take about ten minutes together, and they are ordered so you do the cheap ones first.
Seven Checks, Cheapest First
Change one thing at a time. Changing three and getting a good layer teaches you nothing about which one it was.
01 · Z-offset — 90 seconds
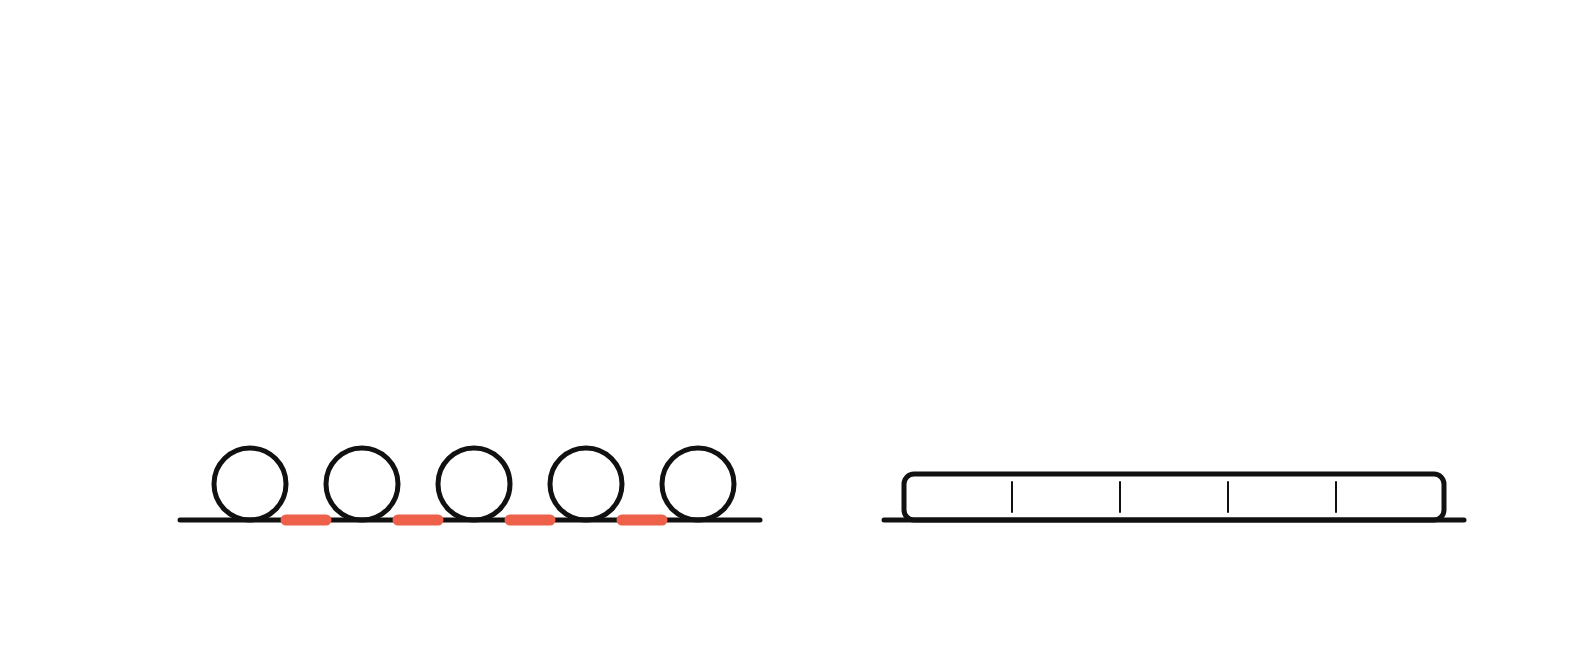
Live-adjust while the first layer prints. Lower until the strands stop being separate cylinders and merge into a continuous sheet, then stop. The right layer has a faint sheen where the nozzle ironed it. Translucent with raised ridges means you went too far and the nozzle is ploughing.
02 · Is the plate flat, or only level? — 2 minutes
Print four 20 mm squares, one at each corner, and one in the middle. If three are right and one is thin or airy, the plate is not flat and no amount of screw-turning fixes it. Run mesh bed levelling, or shim, or replace the plate. This is the check people skip and then chase for a week.
03 · Clean the plate — 60 seconds
Isopropyl alcohol on a lint-free cloth, every few prints. When IPA stops working on a PEI sheet — and it does, after a few hundred hours — wash it with warm water and dish soap, rinse, and dry it. That removes the polymer film IPA only smears about. Handle the plate by its edges afterwards.
04 · Bed temperature — 30 seconds
PLA 50–60 °C, PET-G 70–80 °C, ABS and ASA 100–110 °C. If you are at the bottom of the range, go up 5 °C. If the base of the part is spreading outwards, come down 5 °C: that is elephant foot, and it is the bed being too hot, not the nozzle.
05 · Slow the first layer down — 30 seconds
20 mm/s or slower. The first layer is the only one that has to bond to a cold, hard, foreign surface, and it needs time in contact to do it. Most slicer profiles already do this; check that a speed override or a ‘fast’ profile has not undone it.
06 · First-layer height and width — 60 seconds
Set the first layer to about 0.8 × nozzle diameter — 0.32 mm on a 0.4 mm nozzle — and the first-layer extrusion width to 110–120 % of the nozzle. A wider, thinner first layer has more contact area and squashes better. A 0.4 mm first layer from a 0.4 mm nozzle is round on the bottom and holds badly.
07 · Fan off for the first three layers — 15 seconds
Part cooling exists for overhangs and bridges, not for adhesion. Air on layer one freezes the polymer before it has wetted the surface. Almost every profile disables it already; the failures come from custom profiles and from machines in a draught, which is a fan you did not configure.
A First Layer That Bonded, and One That Did Not
First-Layer Settings That Usually Work
| Setting | Value | Why that number |
|---|---|---|
| First-layer height | 0.32 mm (0.8 × nozzle) | Thin enough to squash, thick enough to bridge a small mesh error |
| First-layer width | 110–120 % of nozzle | More contact area per line, and lines that merge instead of touching |
| First-layer speed | 15–20 mm/s | Contact time is what lets the polymer wet a cold surface |
| First-layer flow | 100–105 % | A few per cent extra fills the mesh error you cannot level out |
| Part cooling, layers 1–3 | 0 % | Air freezes the layer before it bonds |
| Z-offset adjustment step | 0.02 mm | Smaller than you can see, larger than the machine’s noise |
| Bed temperature, PLA | 50–60 °C | Keeps the layer soft long enough to wet the plate |
| Bed temperature, PET-G | 70–80 °C | Below this PET-G peels; above it, it bonds to PEI too hard |
| Bed temperature, ABS/ASA | 100–110 °C | Keeps the base above the glass transition while the part grows |
| Brim width, tall or small parts | 5–8 mm | Multiplies bond area for a few grams of filament |
If the first layer is perfect in the middle of the plate and thin at one edge, stop adjusting the Z-offset. You are levelling against an average, and the plate is not flat. Every extra turn of a screw makes one region better and another worse. Mesh bed levelling, a glass plate, or a replacement sheet is the fix; the offset is not.
When the Layer Is Right and It Still Lifts
A correct first layer can still let go. Large flat footprints, sharp corners, materials that shrink as they cool, and textured plates that give a stiff polymer nothing to key into — all of these beat geometry. That is where an adhesion promoter stops being a workaround and becomes the right component for the job.
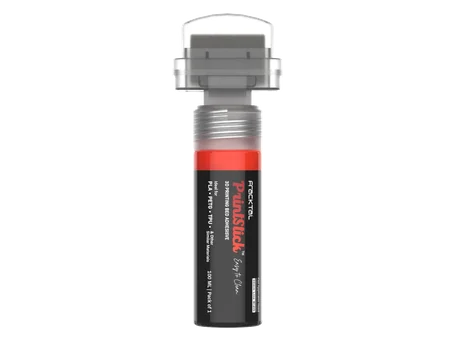
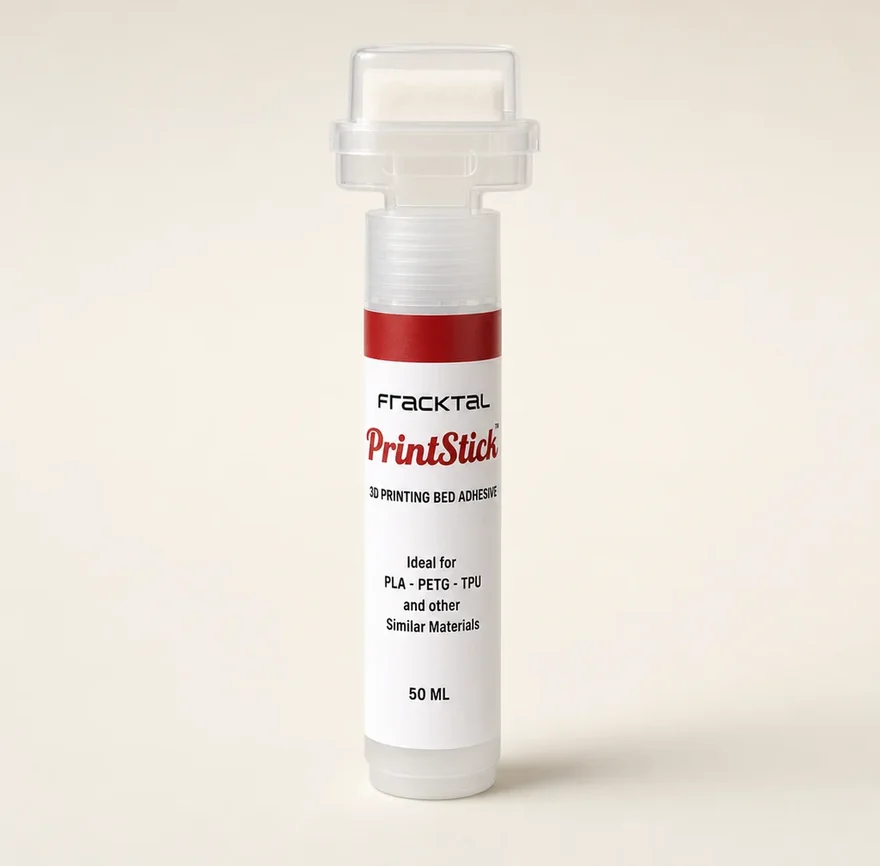
PrintStick goes on in one pass of a 30 mm felt head, holds while the plate is hot, and lets go as it cools so the part lifts off without a scraper. It washes off with water and leaves nothing on the underside of the part. Standard for plates under 80 °C; Plus for 80 °C and above.
Questions About the First Layer
How do I fix a first layer that is not sticking?
What is the correct first-layer height?
Why is my first layer good in the middle and bad at the edges?
Should the first layer be shiny or matt?
What causes elephant foot on the first layer?
Do I need a bed adhesive for a good first layer?
Keep Going
- Print not sticking to the bedAll eight causes, in order
- ABS lifting at the cornersWhy shrinkage beats levelling
- PET-G stuck too wellAnd how it chips a PEI sheet
- Print came loose mid-jobNine hours in, and gone
- Build plate guideWhat each surface is good at
- The full bed adhesion guideEvery cause, every material
- Elephant’s footBonded too well, too soft
- How to clean a build plateThe most-skipped free fix
- PLA not stickingNozzle gap, skin oil, cold bed
Or Let Us Print It
Fracktal runs its own FDM and SLS machines in Bengaluru. Send the file and get the part, with the first layer someone else’s problem.