











Print Quality Problems: Where to Start
Most print failures are one of about ten problems, and each has a known cause and a known fix. This page is the triage desk: find the symptom that matches your part, apply the quick check, and follow the link where a fuller guide exists. If you work through a symptom and the print still fails, send us the G-code and a photo and we will look at it with you.
First layer problems
| Symptom | Usual cause | Fix |
|---|---|---|
| Nothing extrudes on layer one | Nozzle too close to the bed, or a clog | First layer not extruding properly |
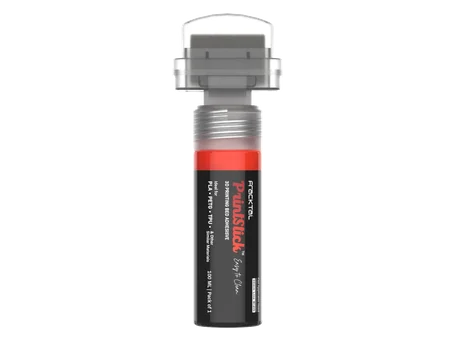
| Print will not stick, corners lift | Bed preparation, first-layer height, bed temperature | Our full bed adhesion guide, and PrintStick for the surface |
| Squashed, ridged first layer (“elephant’s foot”) | Nozzle too close, bed too hot | Raise Z-offset a step at a time; drop bed 5 °C |
Nothing coming out mid-print
| Symptom | Usual cause | Fix |
|---|---|---|
| Extrusion stops, motor clicks | Blocked or partially blocked nozzle | Clearing a blocked nozzle |
| Extrusion stops, no click | Filament run-out, tangle on the spool, or ground-away filament at the drive gear | Check the spool path end to end; cut and re-load the filament |
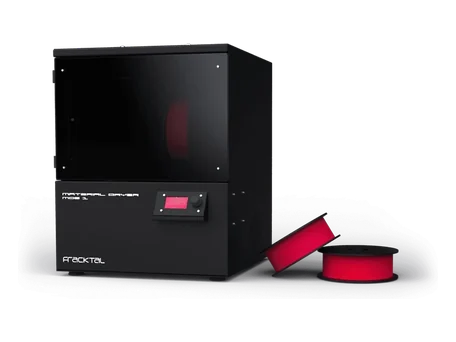
| Thin, inconsistent extrusion | Wet filament, or a partial clog | Dry the spool (a material dryer exists for exactly this), then cold-pull the nozzle |
Surface defects
| Symptom | Usual cause | Fix |
|---|---|---|
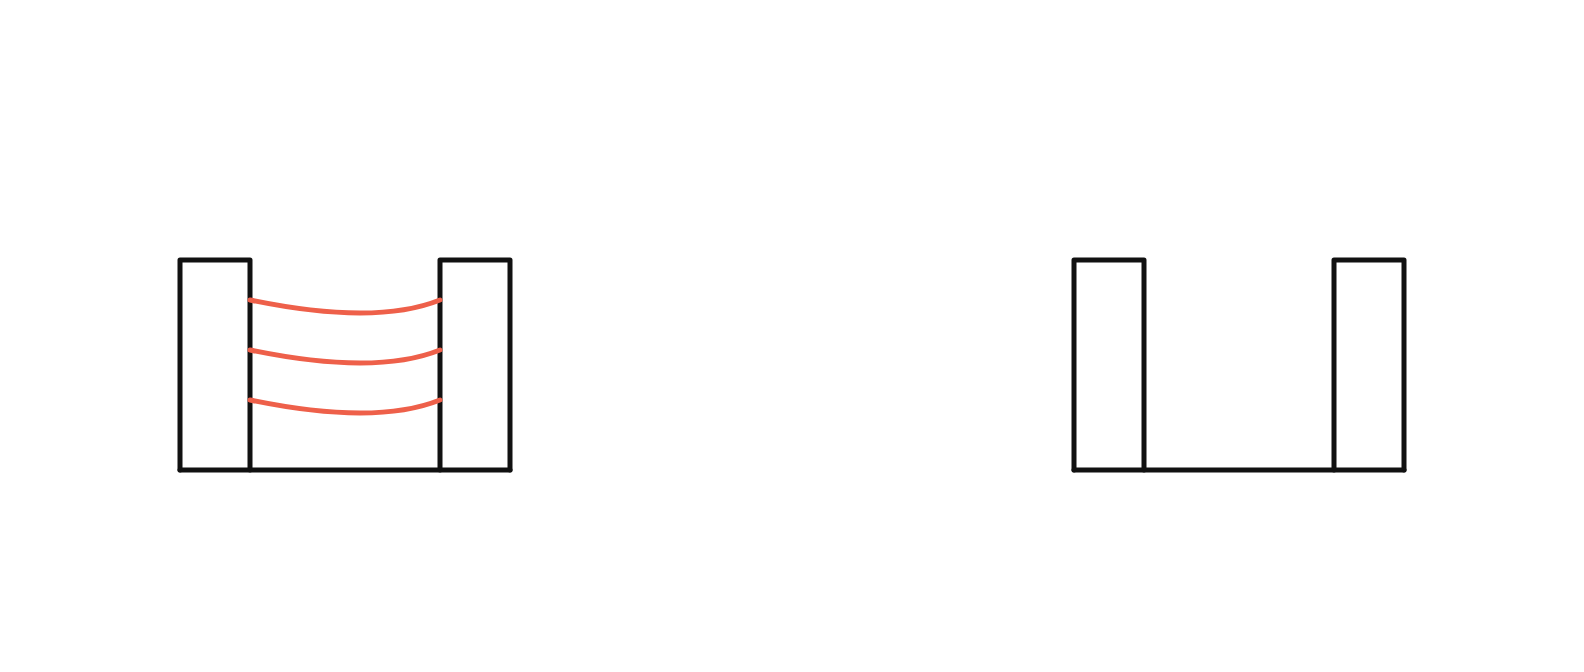
| Hairs and strings between features | Retraction settings, wet filament | Stringing and oozing: causes and fixes |
| Layers shifted sideways partway up | A slipped pulley or a damaged belt | Slipped pulley · Damaged belt |
| Cracks between layers on tall parts | Part cooling too fast: ABS, nylon or PC printed in open air | Reduce the part fan; these materials want an enclosure or a heated chamber |
| Corners lifting and warping on large parts | Same cause: uneven cooling shrinkage | Bed adhesion guide above; brim; enclosure; for chronic cases the material wants a heated-chamber machine |
| Blobs, zits and a glossy melted look | Printing too hot or too slow | Drop nozzle temperature 5 °C at a time; see the FDM settings guide |
| Rough, pillowed top surface | Too few top layers over sparse infill | 4–6 top layers at 0.2 mm; raise infill a step |
Small or detailed parts failing
Small parts fail differently: not enough time between layers for each layer to cool, so the part stays molten and slumps. The fixes are minimum layer time, more part cooling, and printing several small parts at once so the nozzle moves away between layers. The full write-up is in Small prints failing: causes and fixes.
Dimensional problems
| Symptom | Usual cause | Fix |
|---|---|---|
| Holes print undersize | Normal FDM behaviour | Design 0.2–0.3 mm clearance, or drill/ream critical holes; see design for 3D printing |
| Parts consistently over/undersize | Flow rate or material shrinkage | Calibrate flow with a single-wall cube; check the material’s shrinkage on its datasheet |
| Wrong nozzle assumed in the slicer | Nozzle was changed and the profile was not | Identify your nozzle diameter |
When it is the machine, not the print
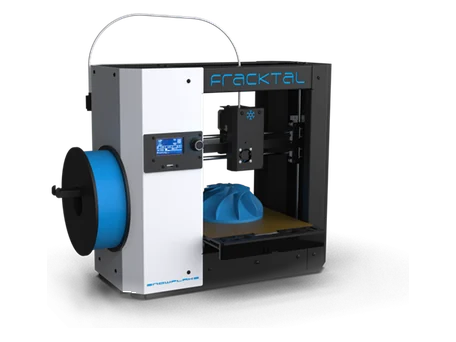
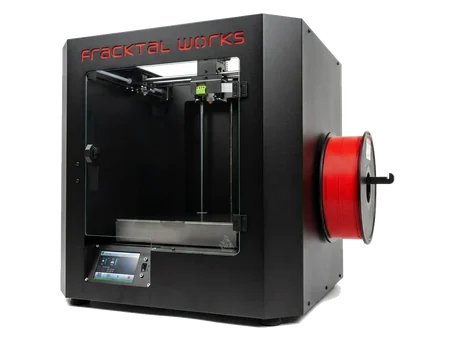
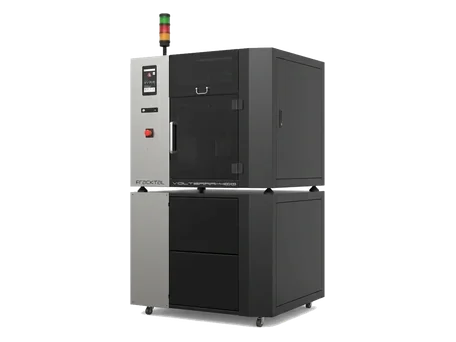
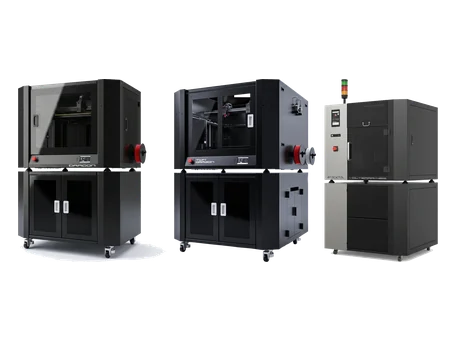
Errors on the display (MINTEMP, thermal runaway, heating failed), a printer that will not power on, or electrical faults are machine problems, not print-settings problems. Those guides live in the machine sections of this knowledge base: Julia Series, Snowflake and Volterra.
And if the same part keeps failing whatever you change, the geometry may be fighting the process: our manufacturing floor prints customer parts daily, and an engineer will tell you honestly whether the part wants different settings, a different orientation or a different process.