











Changing Filament (Julia 2018 Series)
Julia 2018 series printers change filament through a wizard on the touchscreen: unload the old spool, load the new one, confirm the extrusion. The whole change takes about ten minutes, and the printer handles the heating for you. Follow the steps in order; the only judgement call is the temperature rule below.
Always run the change at the hotter material’s temperature. Changing from ABS to PLA, select ABS in the wizard while unloading and loading, even though PLA is going in: ABS melts around 230 °C, so at PLA’s 190 °C any ABS left in the nozzle stays solid and blocks it. The rule of thumb — select whichever of the two materials has the higher melting point.
Difficulty Easy
Time About 10 minutes
You need The new spool

Open the spool menu
- From the touchscreen’s main menu, open Control.
- Press the spool icon on the bottom toolbar to open the filament screen.


Start the filament change
- The spool screen shows the filament sensor toggle and the flow rate.
- Press Change Filament in the top right to start the wizard.

Select the new material
- Pick the filament type from the Select Filament drop-down.
- Remember the temperature rule above: when the outgoing material melts hotter, select that one instead.

Dual-nozzle printers: pick the nozzle
- Move between nozzles with the arrows, or press the nozzle number.
- Single-nozzle machines skip this step.
Unload the old filament
- If a spool is loaded, press the unload icon; the wizard walks you through it.
- Nothing loaded? Skip straight to loading.

Load the new filament
- Press the load icon. The printer heats the extruder for the material you selected; the status screen shows the temperatures climbing.
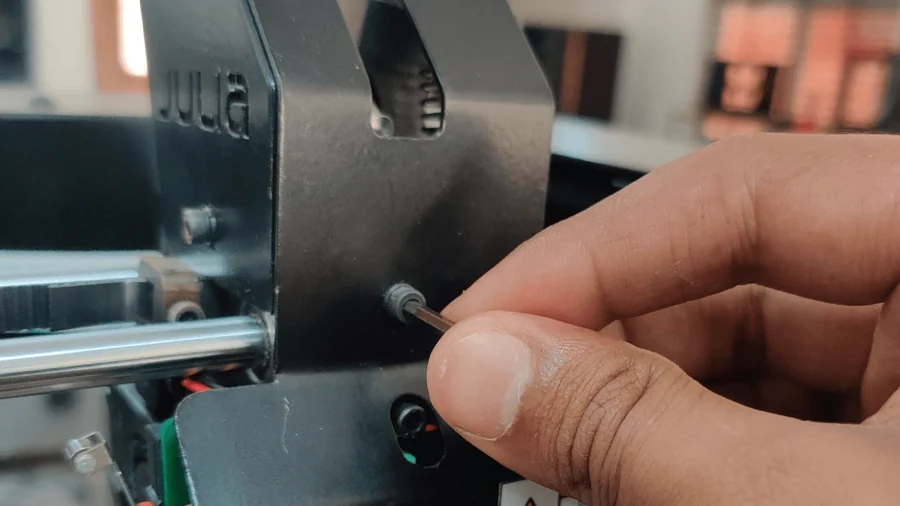
- Press the extruder arm lightly and insert the filament — gentle pressure is enough.
- The filament end is rarely dead straight; rotate it a little if it misses the feed hole.

Check the extrusion
- Once the extruder is up to temperature, press Extrude.
- Keep extruding until filament flows in a fine, even stream.

Finish
- The extrusion should look like the photo: a thin, even strand with no sputtering.
- Press Done. The filament change is complete.
If the new filament will not flow cleanly, residue from the old material is the usual cause — the blocked nozzle guide clears it. Day-to-day handling rules are in the filament storage SOP.